
Introduction
Filing Income Tax Returns (ITR) is mandatory if you are covered under conditions specified in sec 139(1). If you missed the due date for filing your ITR, you can still file your ITR for that particular financial year with the help of a Belated Return.
In this article, let’s understand step-by-step how you can file your return belatedly on Income Tax Portal.
If you want to know more about Belated Return, pls refer to this article: [Link Article no. 43]
What is a Belated Return?
A belated Return is an Income Tax Return (ITR) filed after the due date prescribed u/s 139(1). As per sec 139(1) of the Income Tax Act, the due date specified for individual taxpayers (who are not covered under tax audit) is 31st July of the relevant assessment year.
Accordingly, for FY 22-23 (AY 23-24) due date for filing ITR is 31st July 2023. Any return filed after this due date will be considered a Belated Return.
How to file it online on Income Tax Portal?
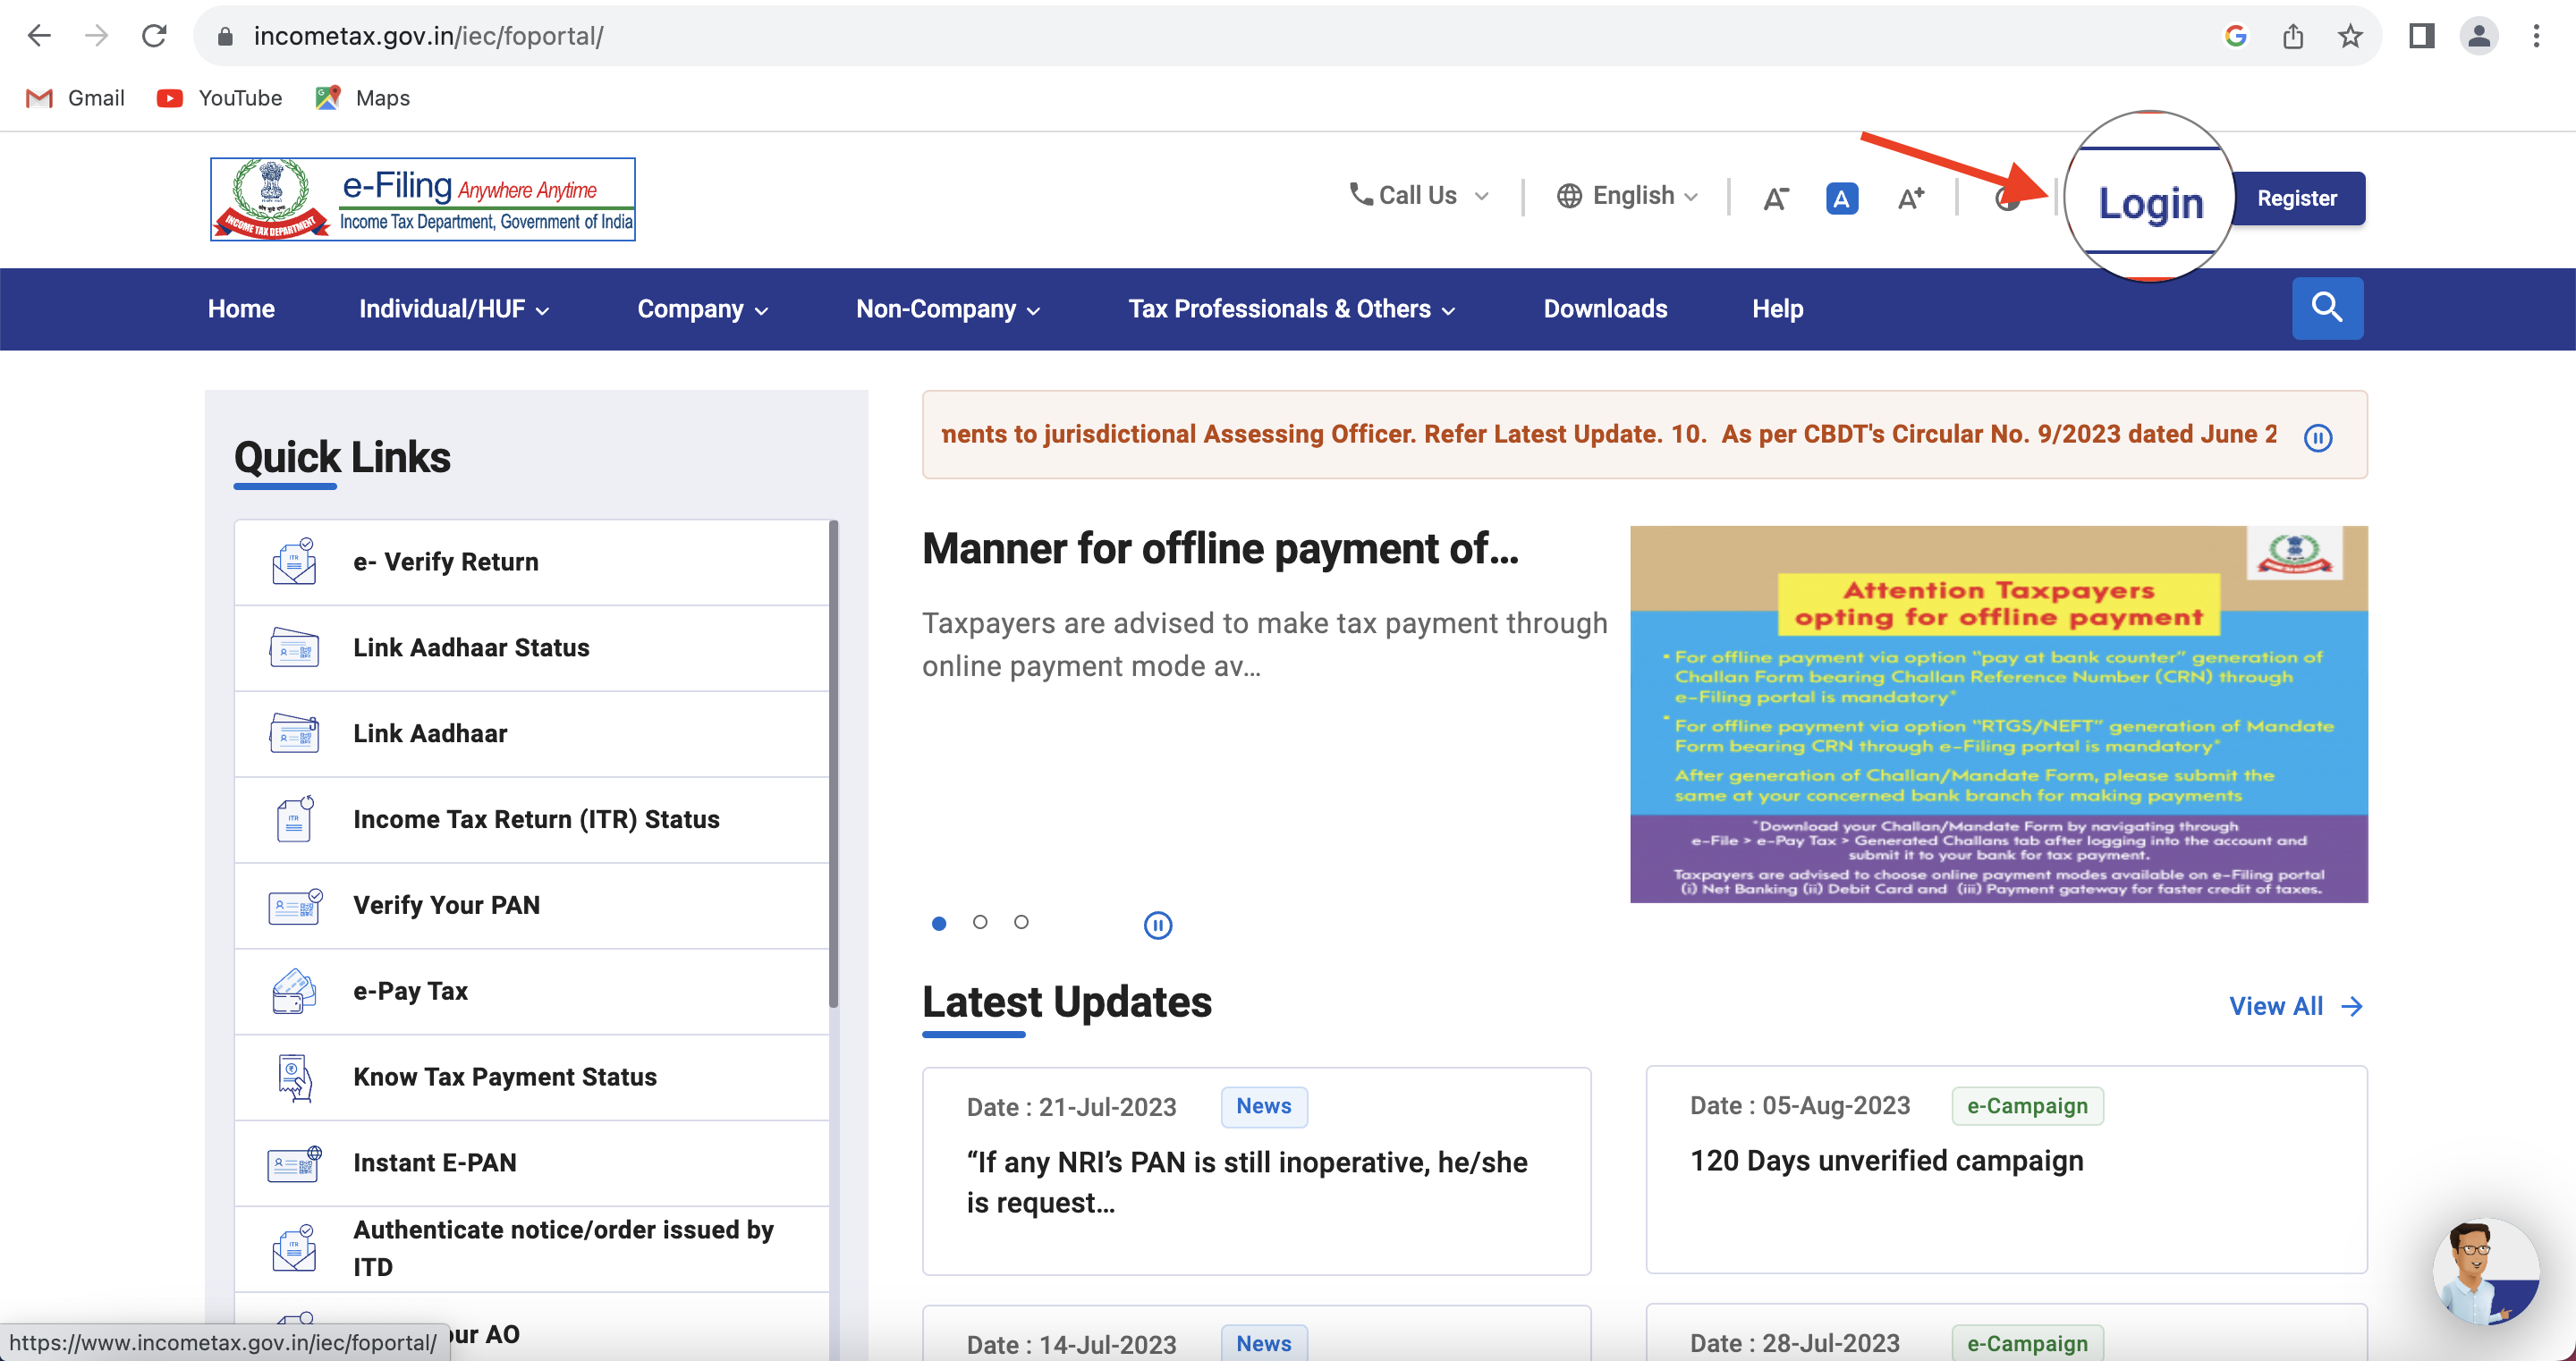
Step 1: Go to www.incometax.gov.in website and click on “Login”
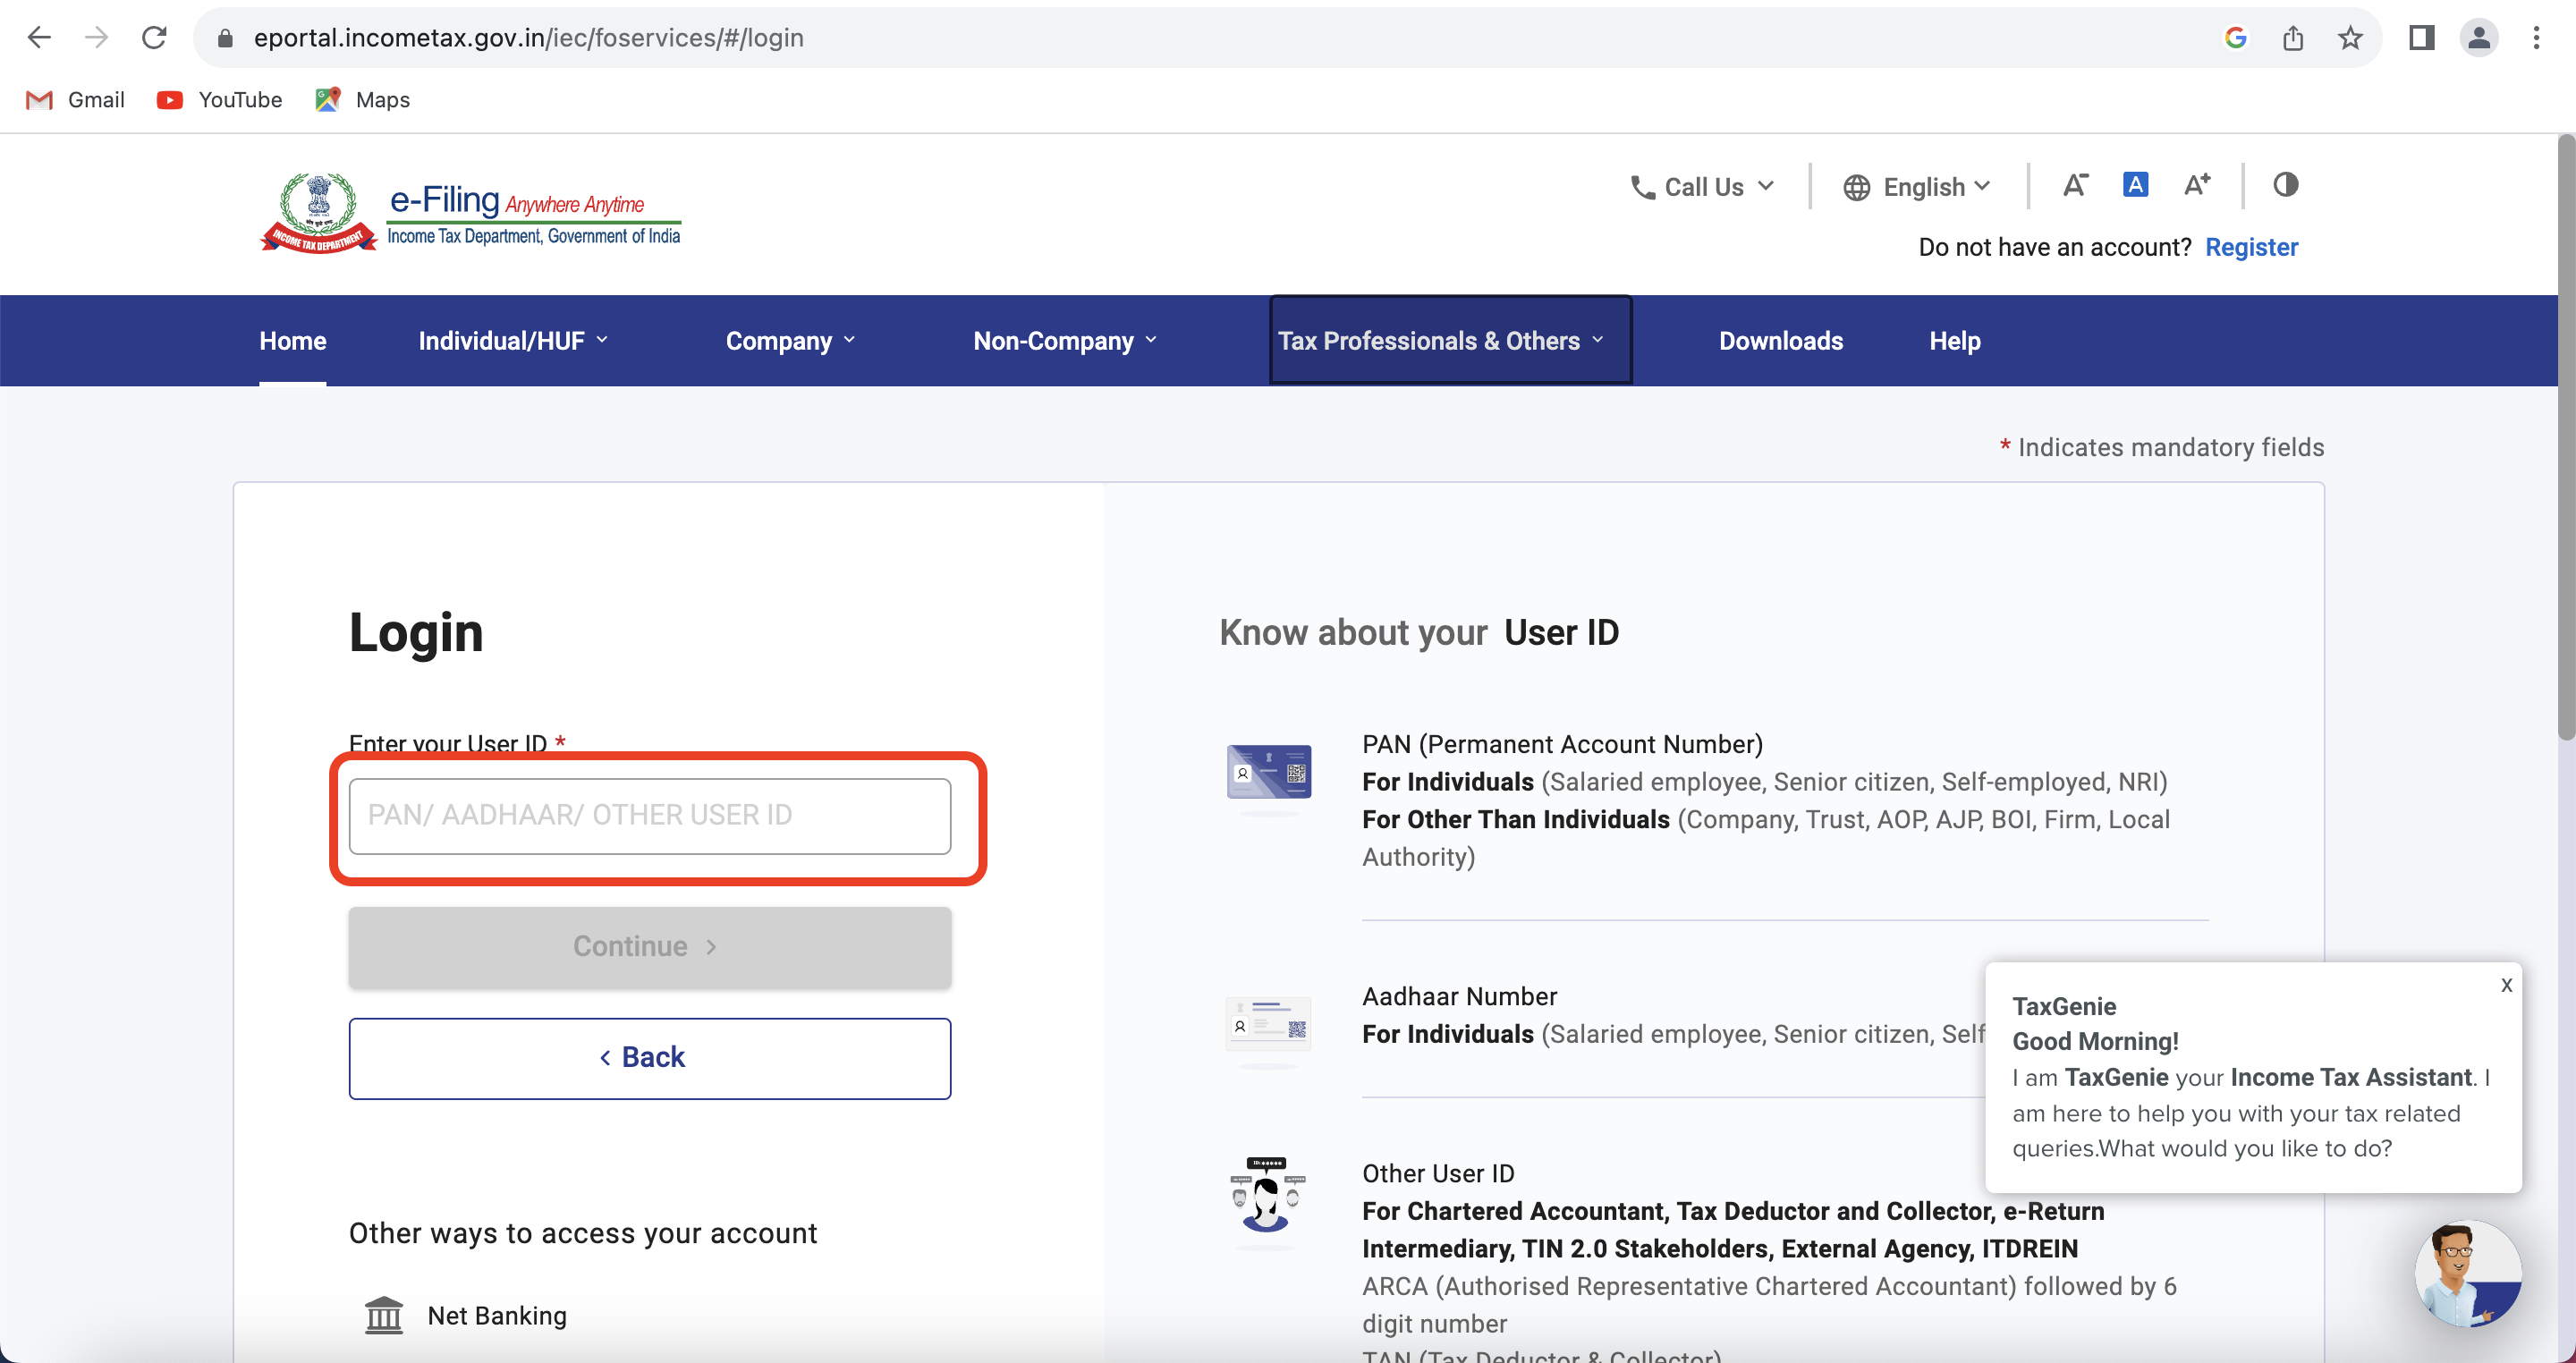
Step 2: Login to the portal using your income tax credentials
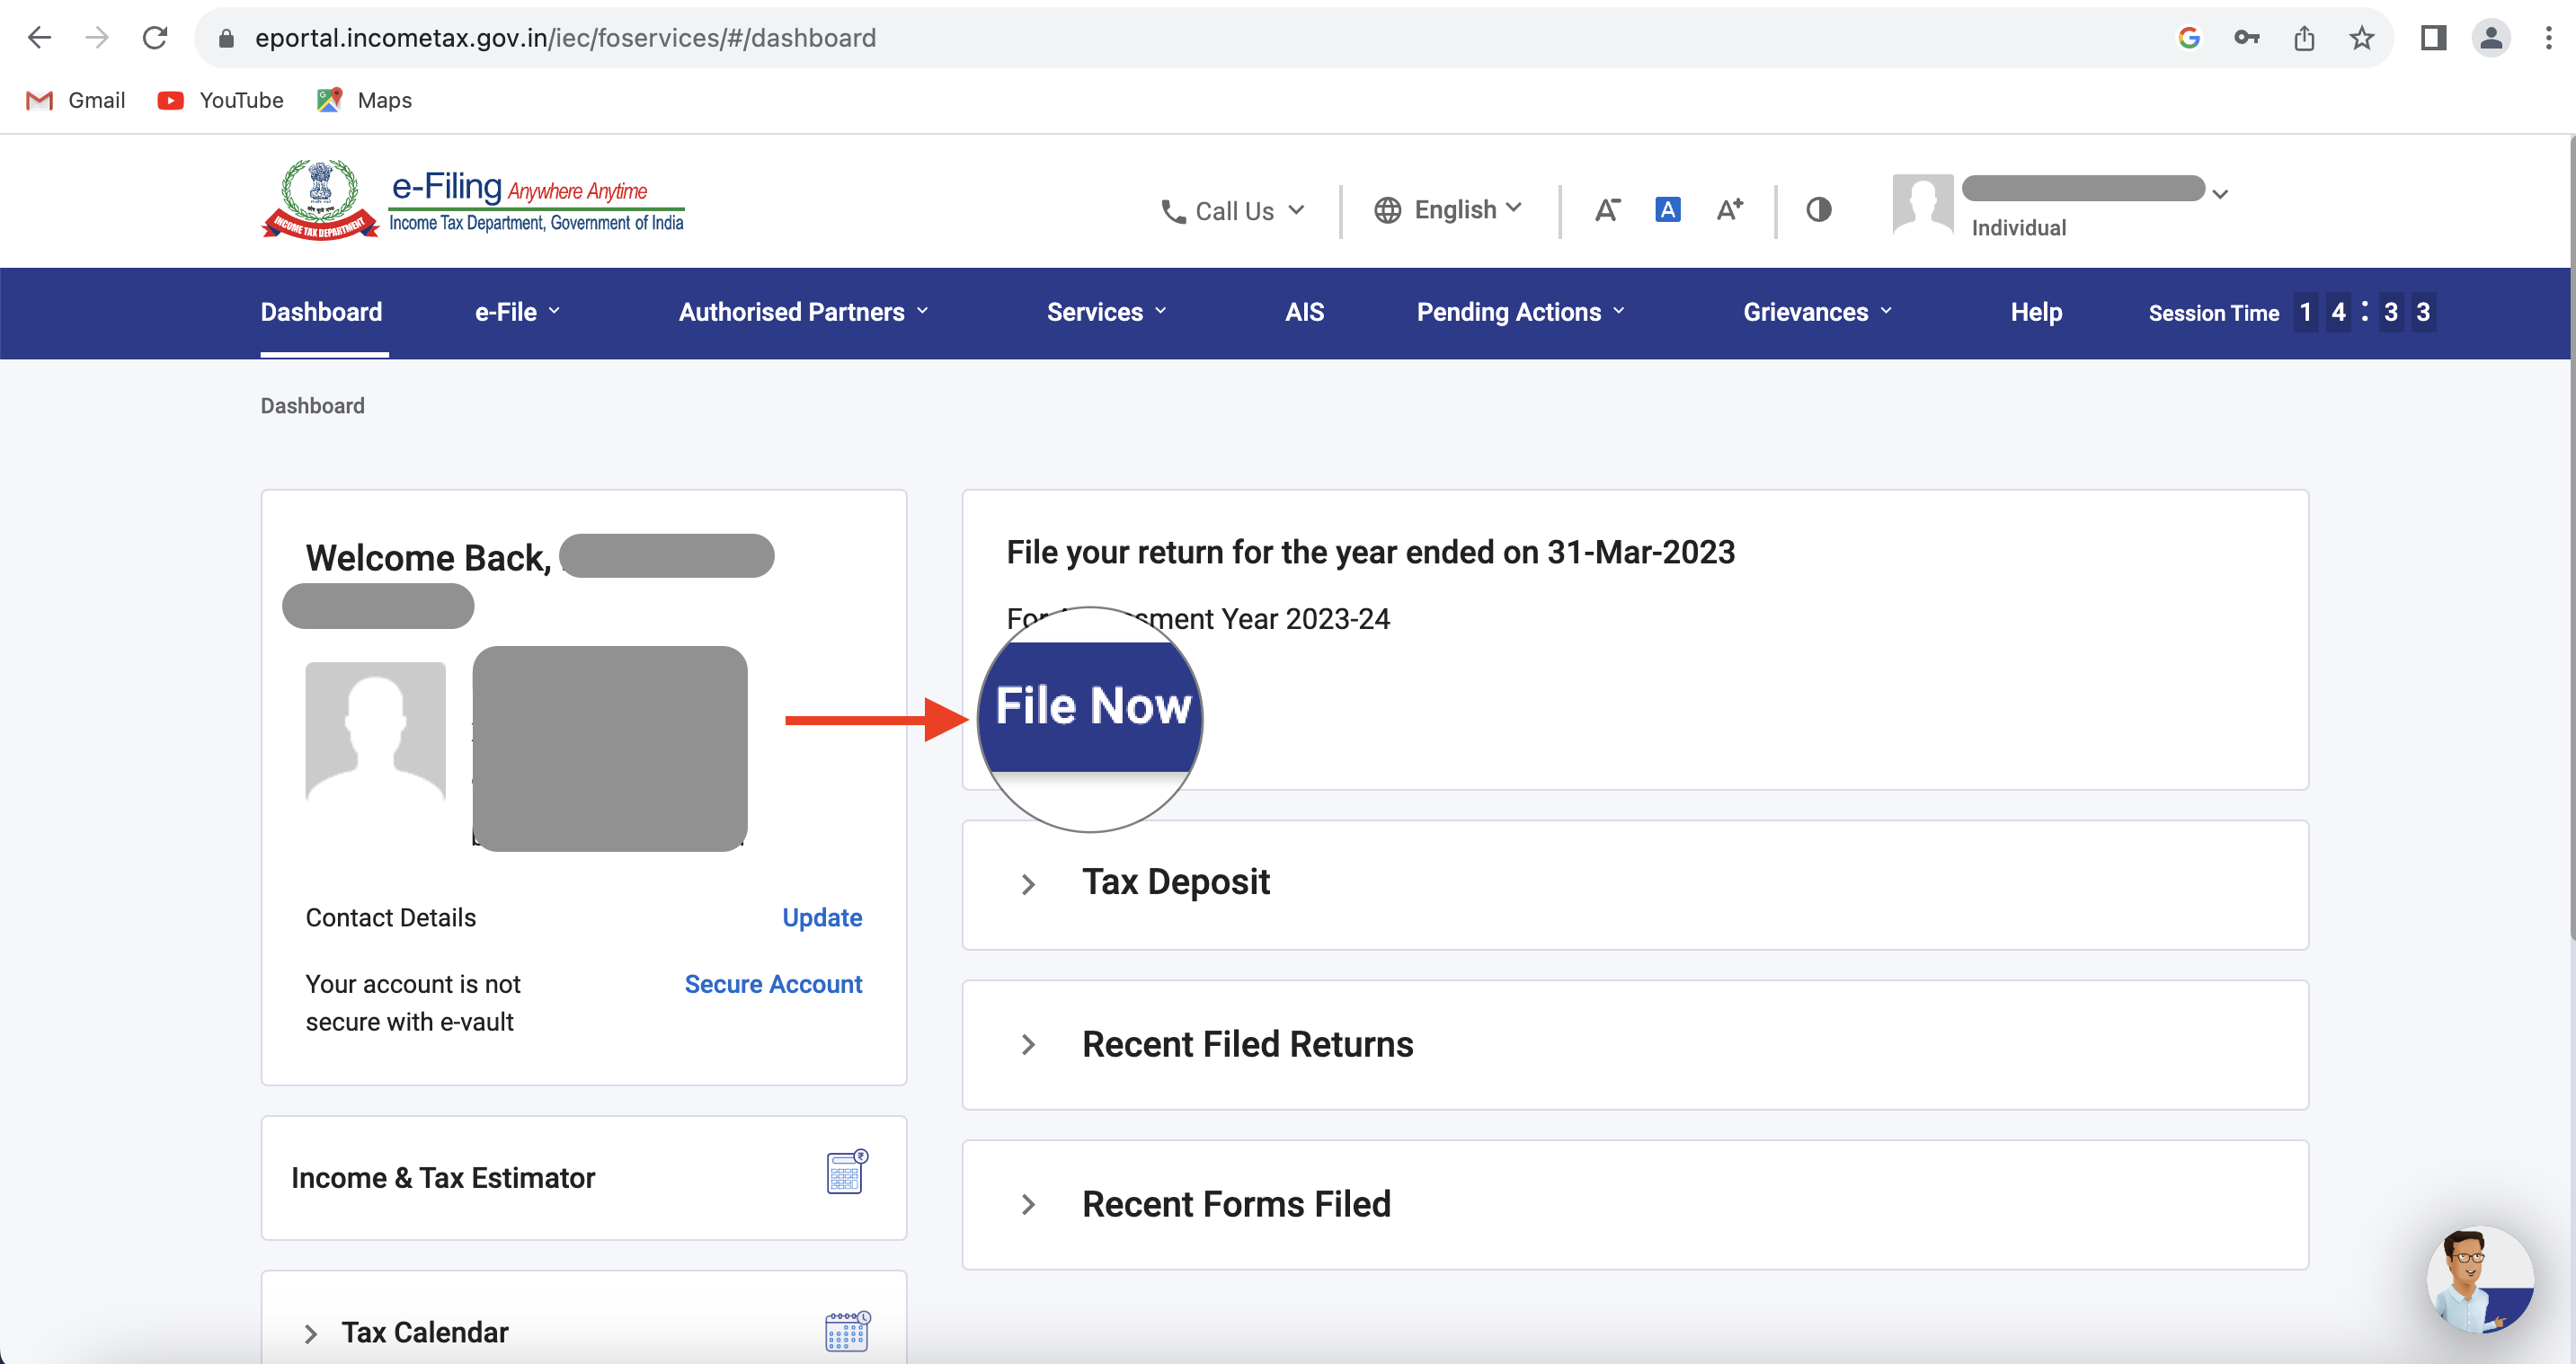
Step 3: Ater successful login, On Dashboard click on “File now”
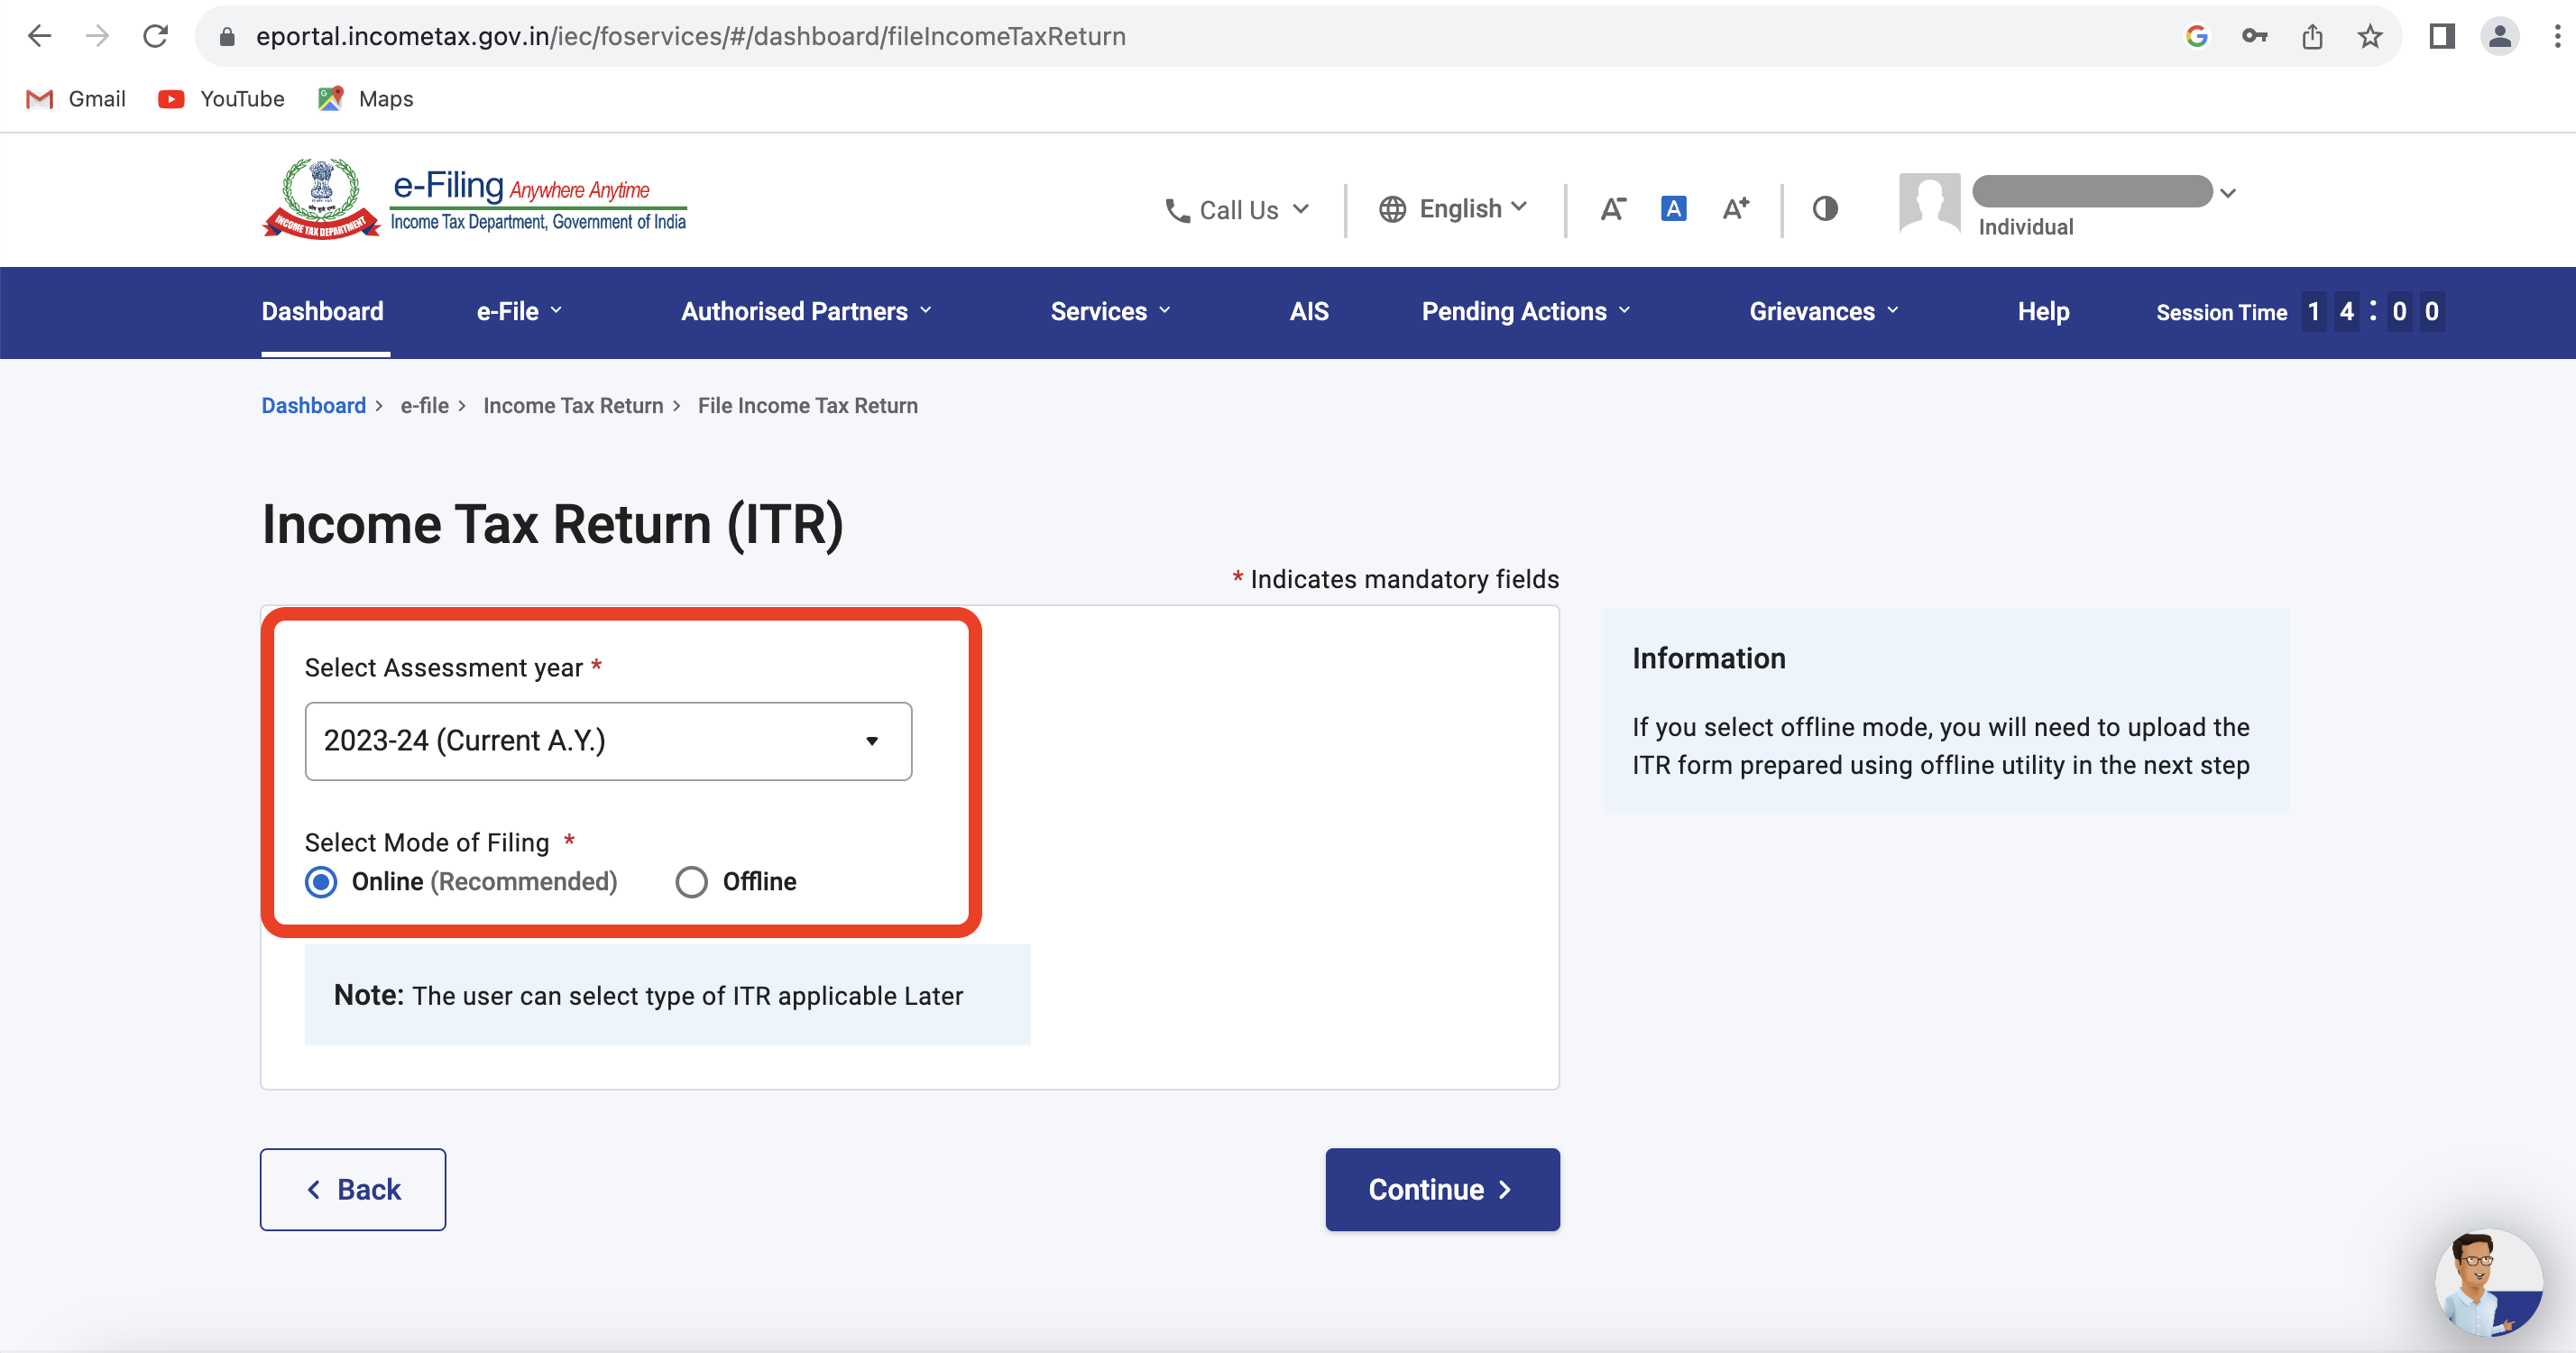
Step 4: Select Assessment Year “2023-24” & mode of filing as “Online”
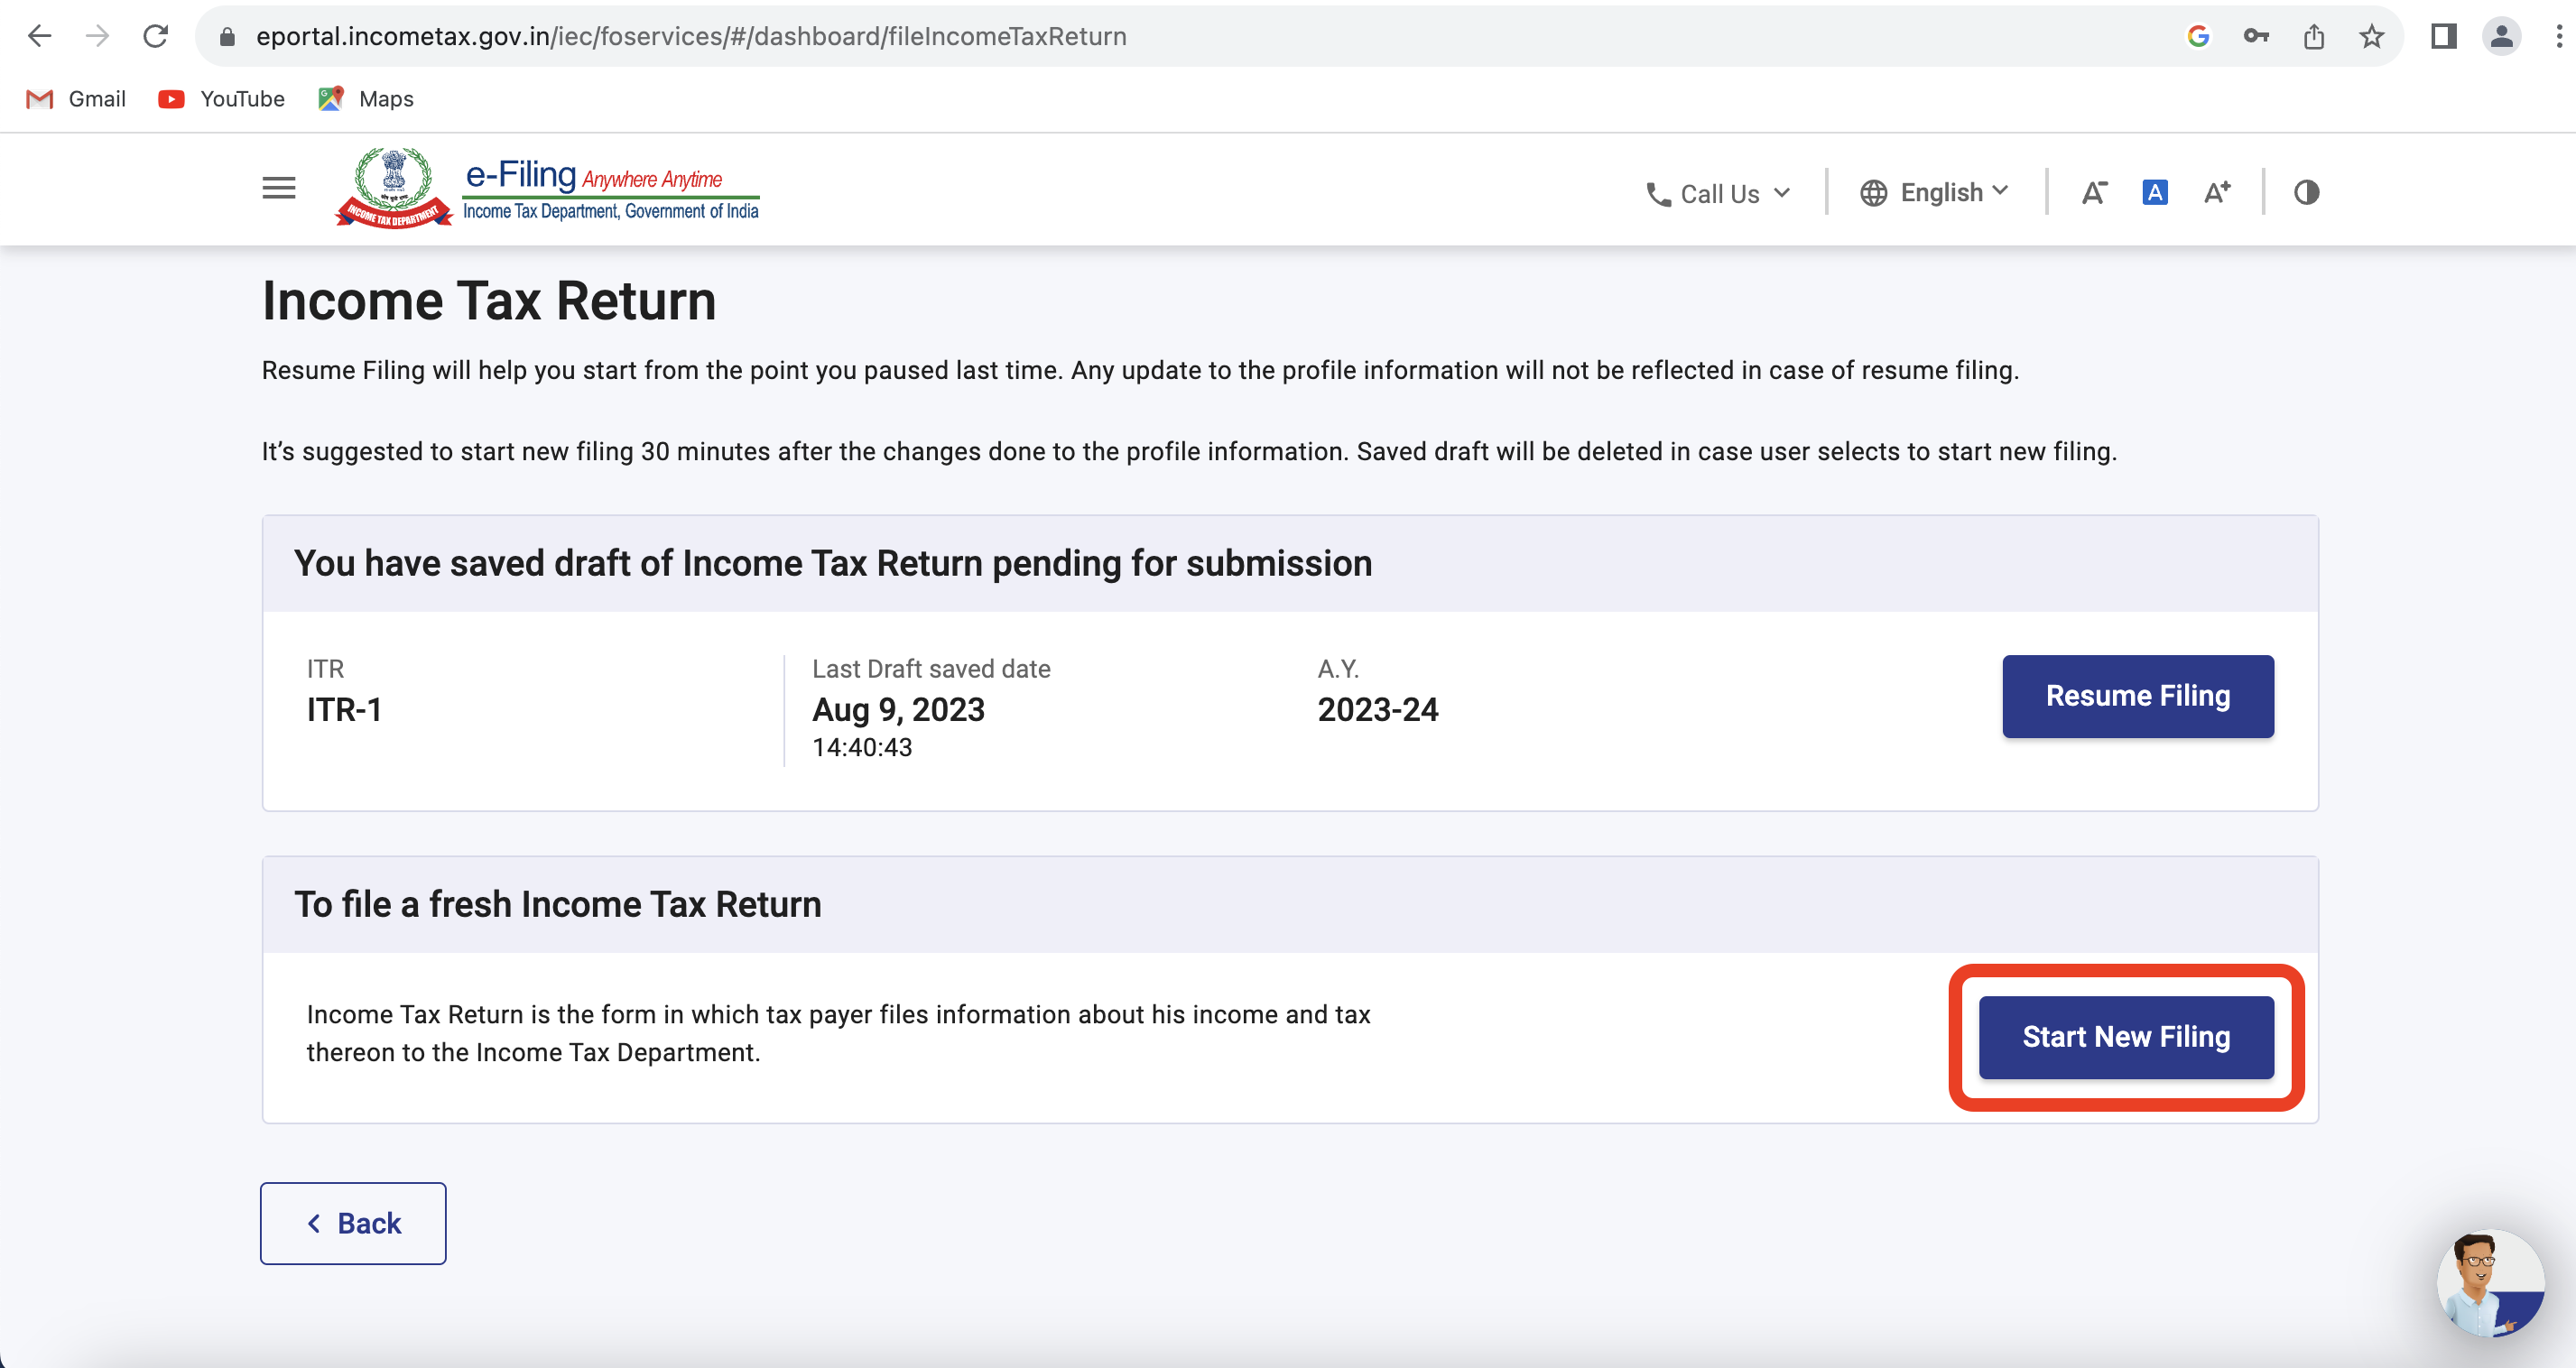
Step 5: To resume from the saved draft, click on “Resume Fiing”. Instead, if you want to start afresh, click on “Start New Filing”. Since we are filling it from scratch, click on “Start New Filing”
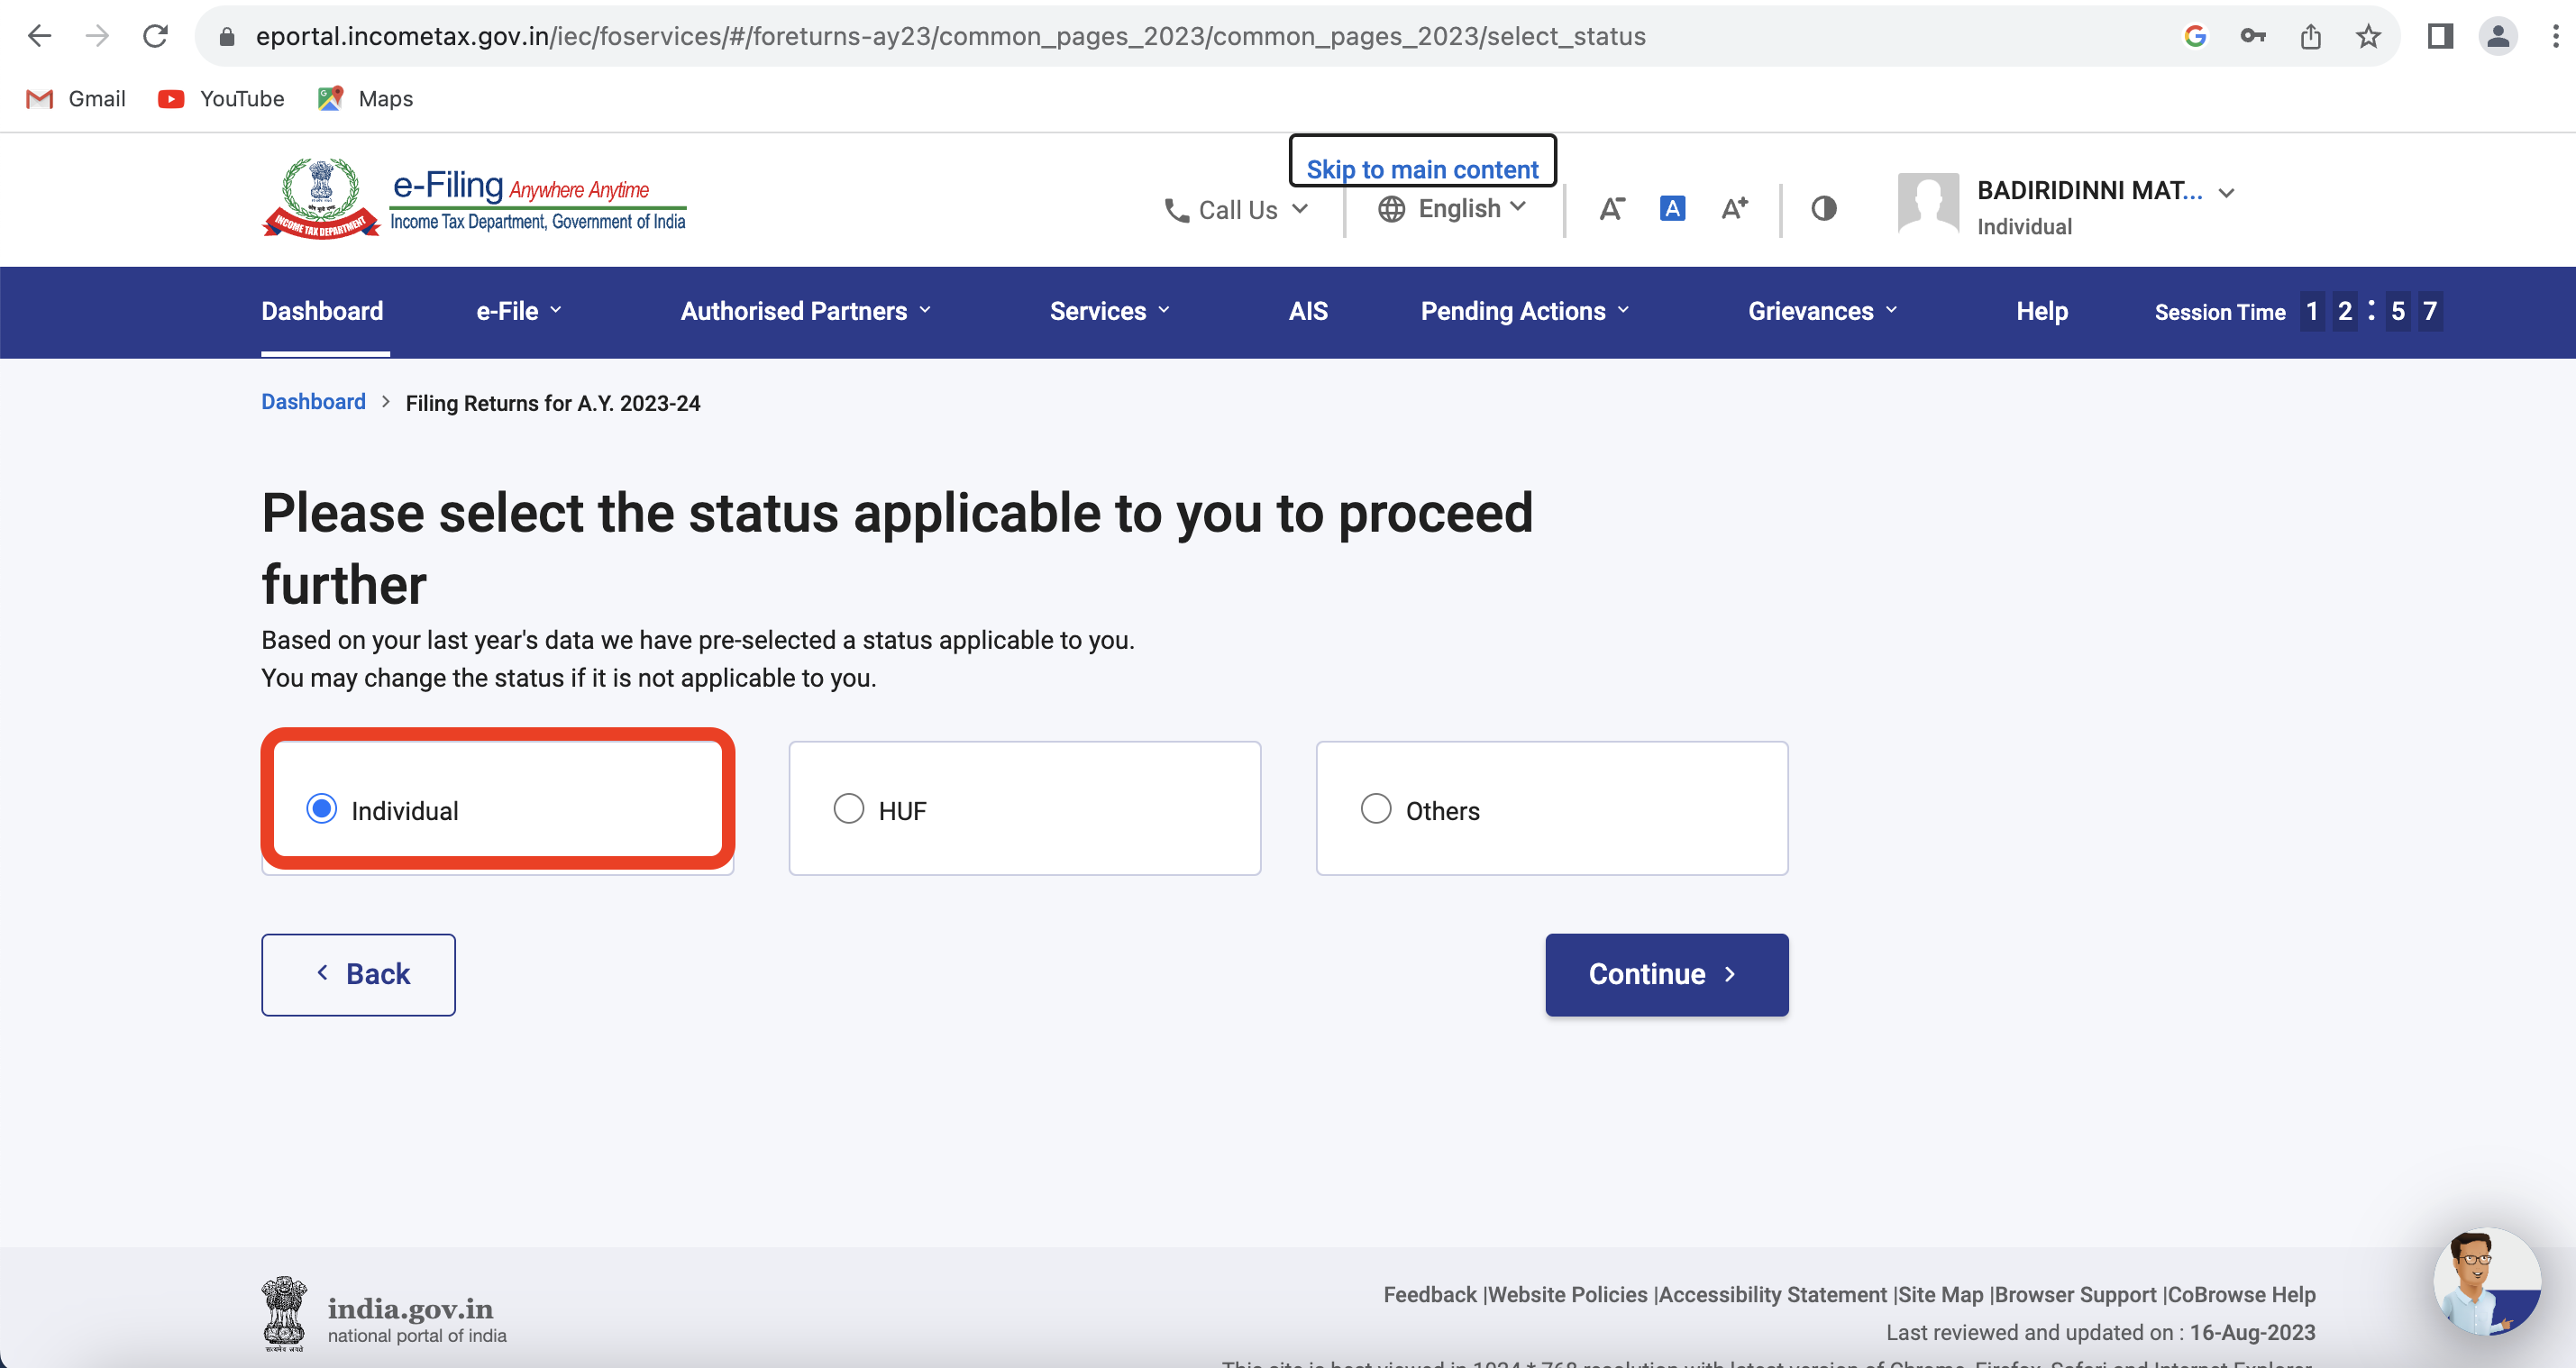
Step 6: Select “Individual” & click on “Continue”
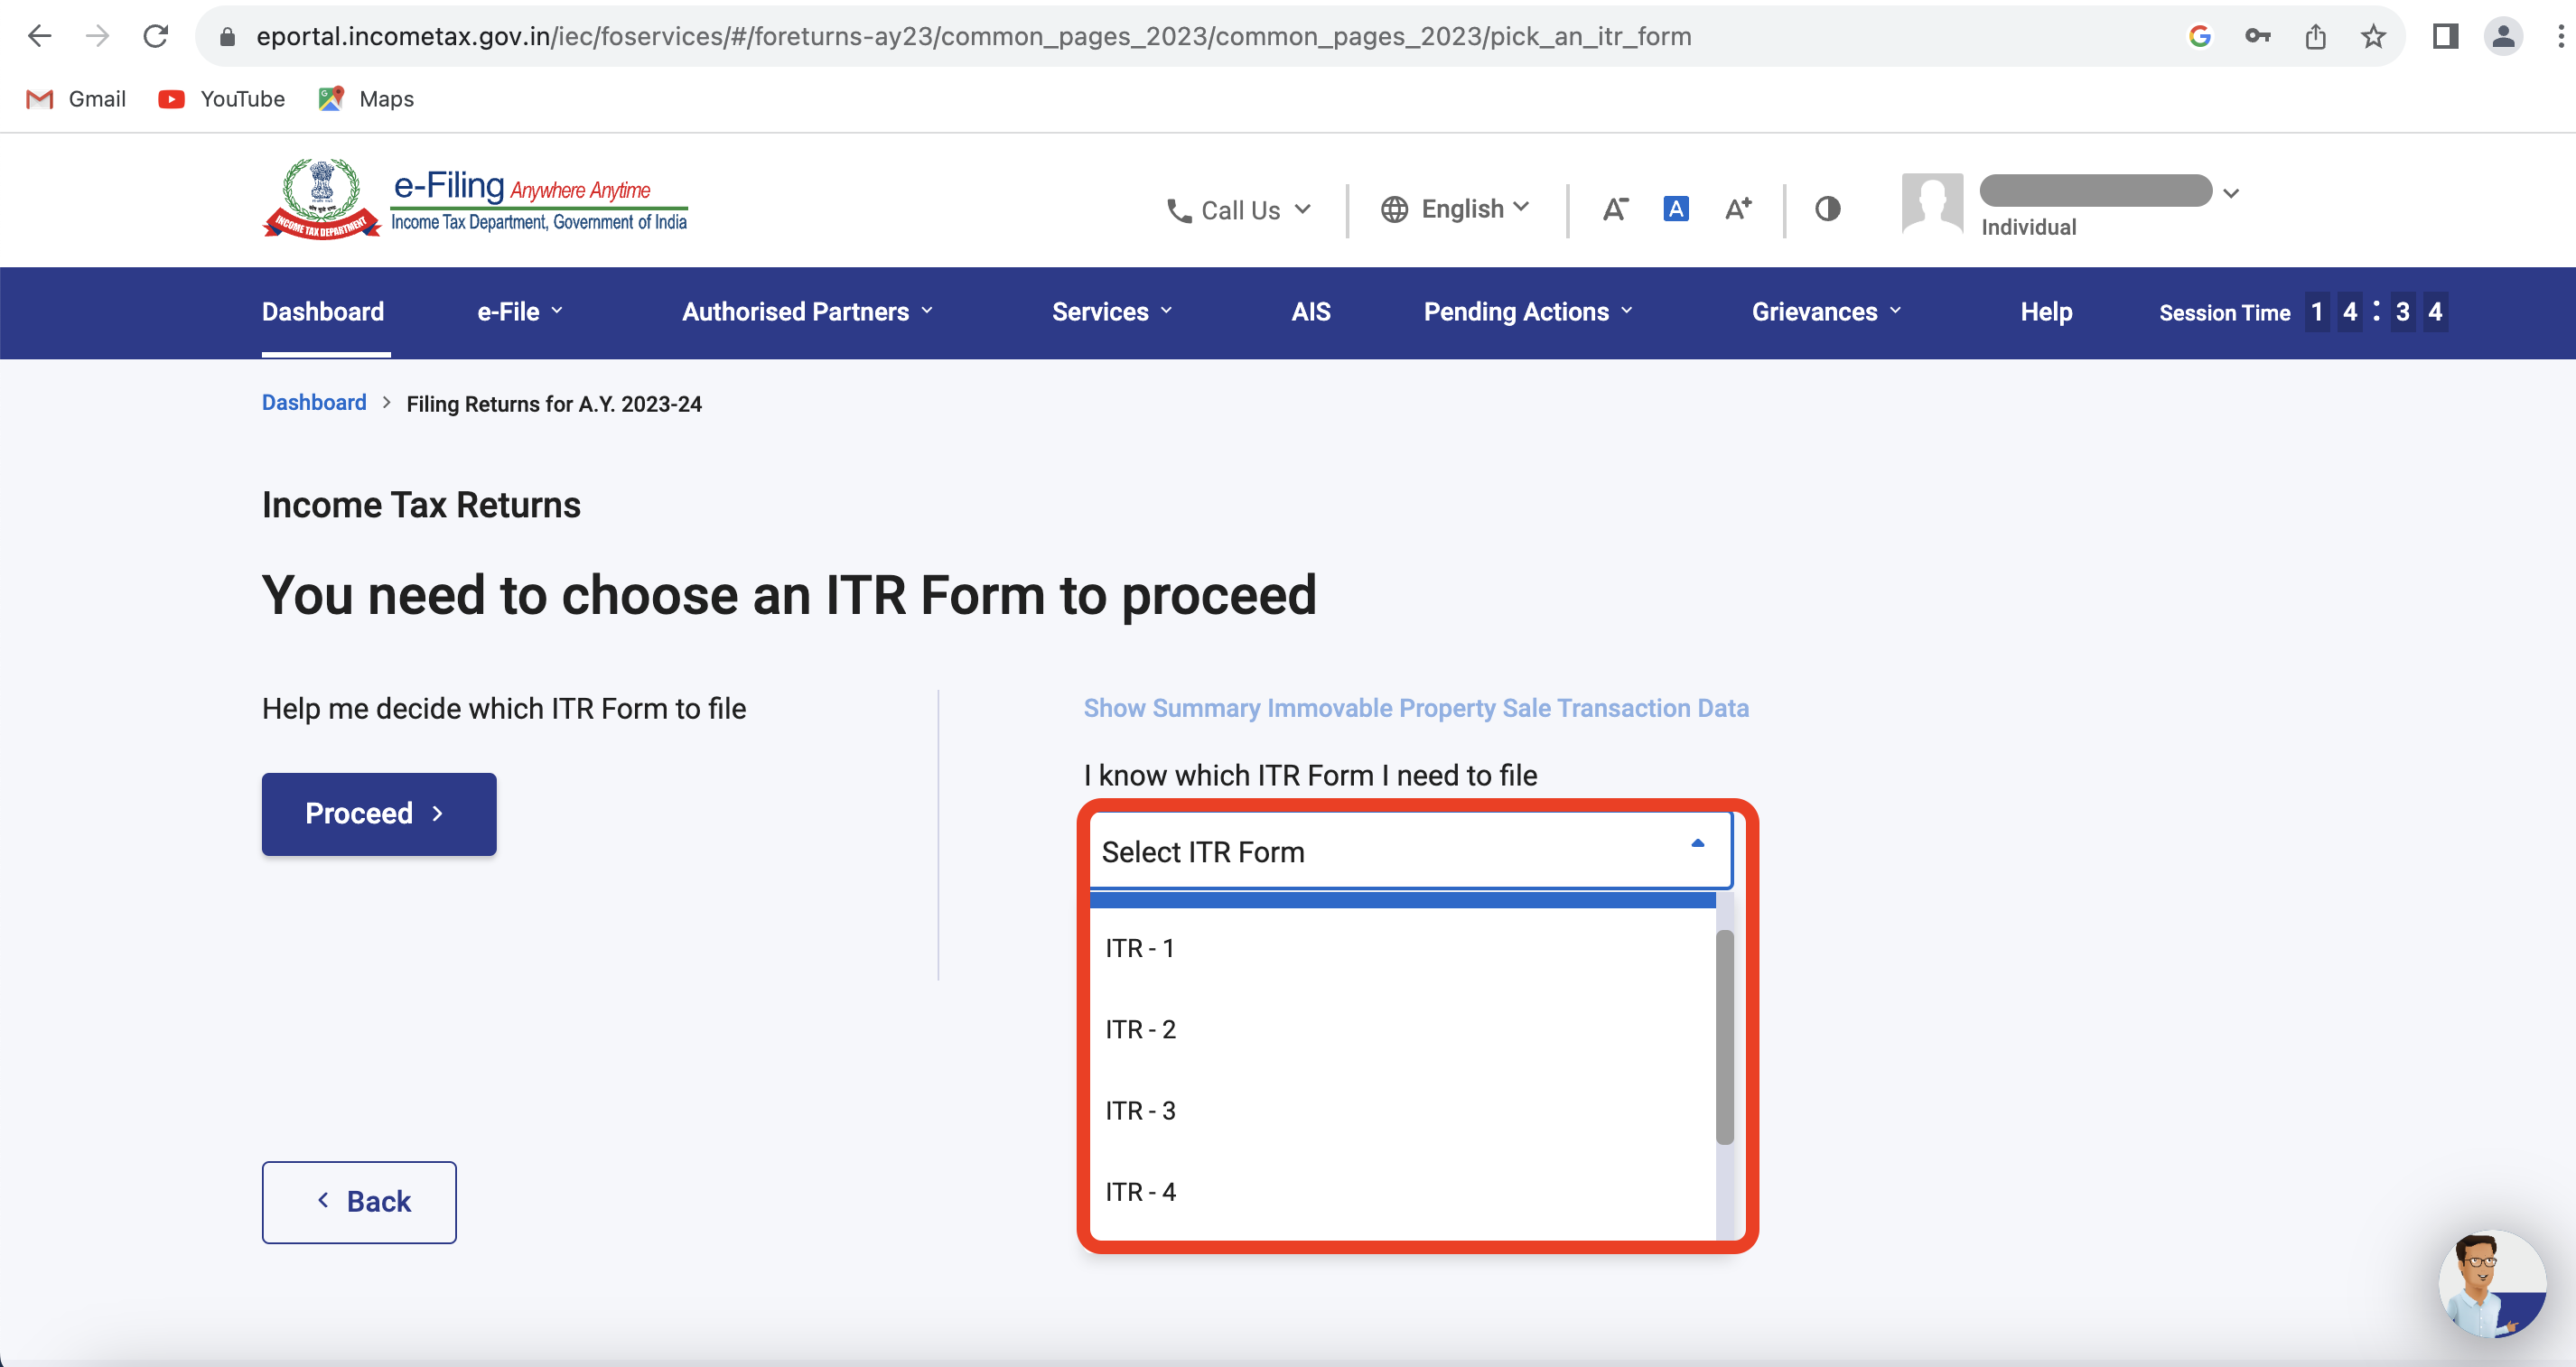
Step 7: Choose the correct ITR form in the drop-down list and click on “Proceed”
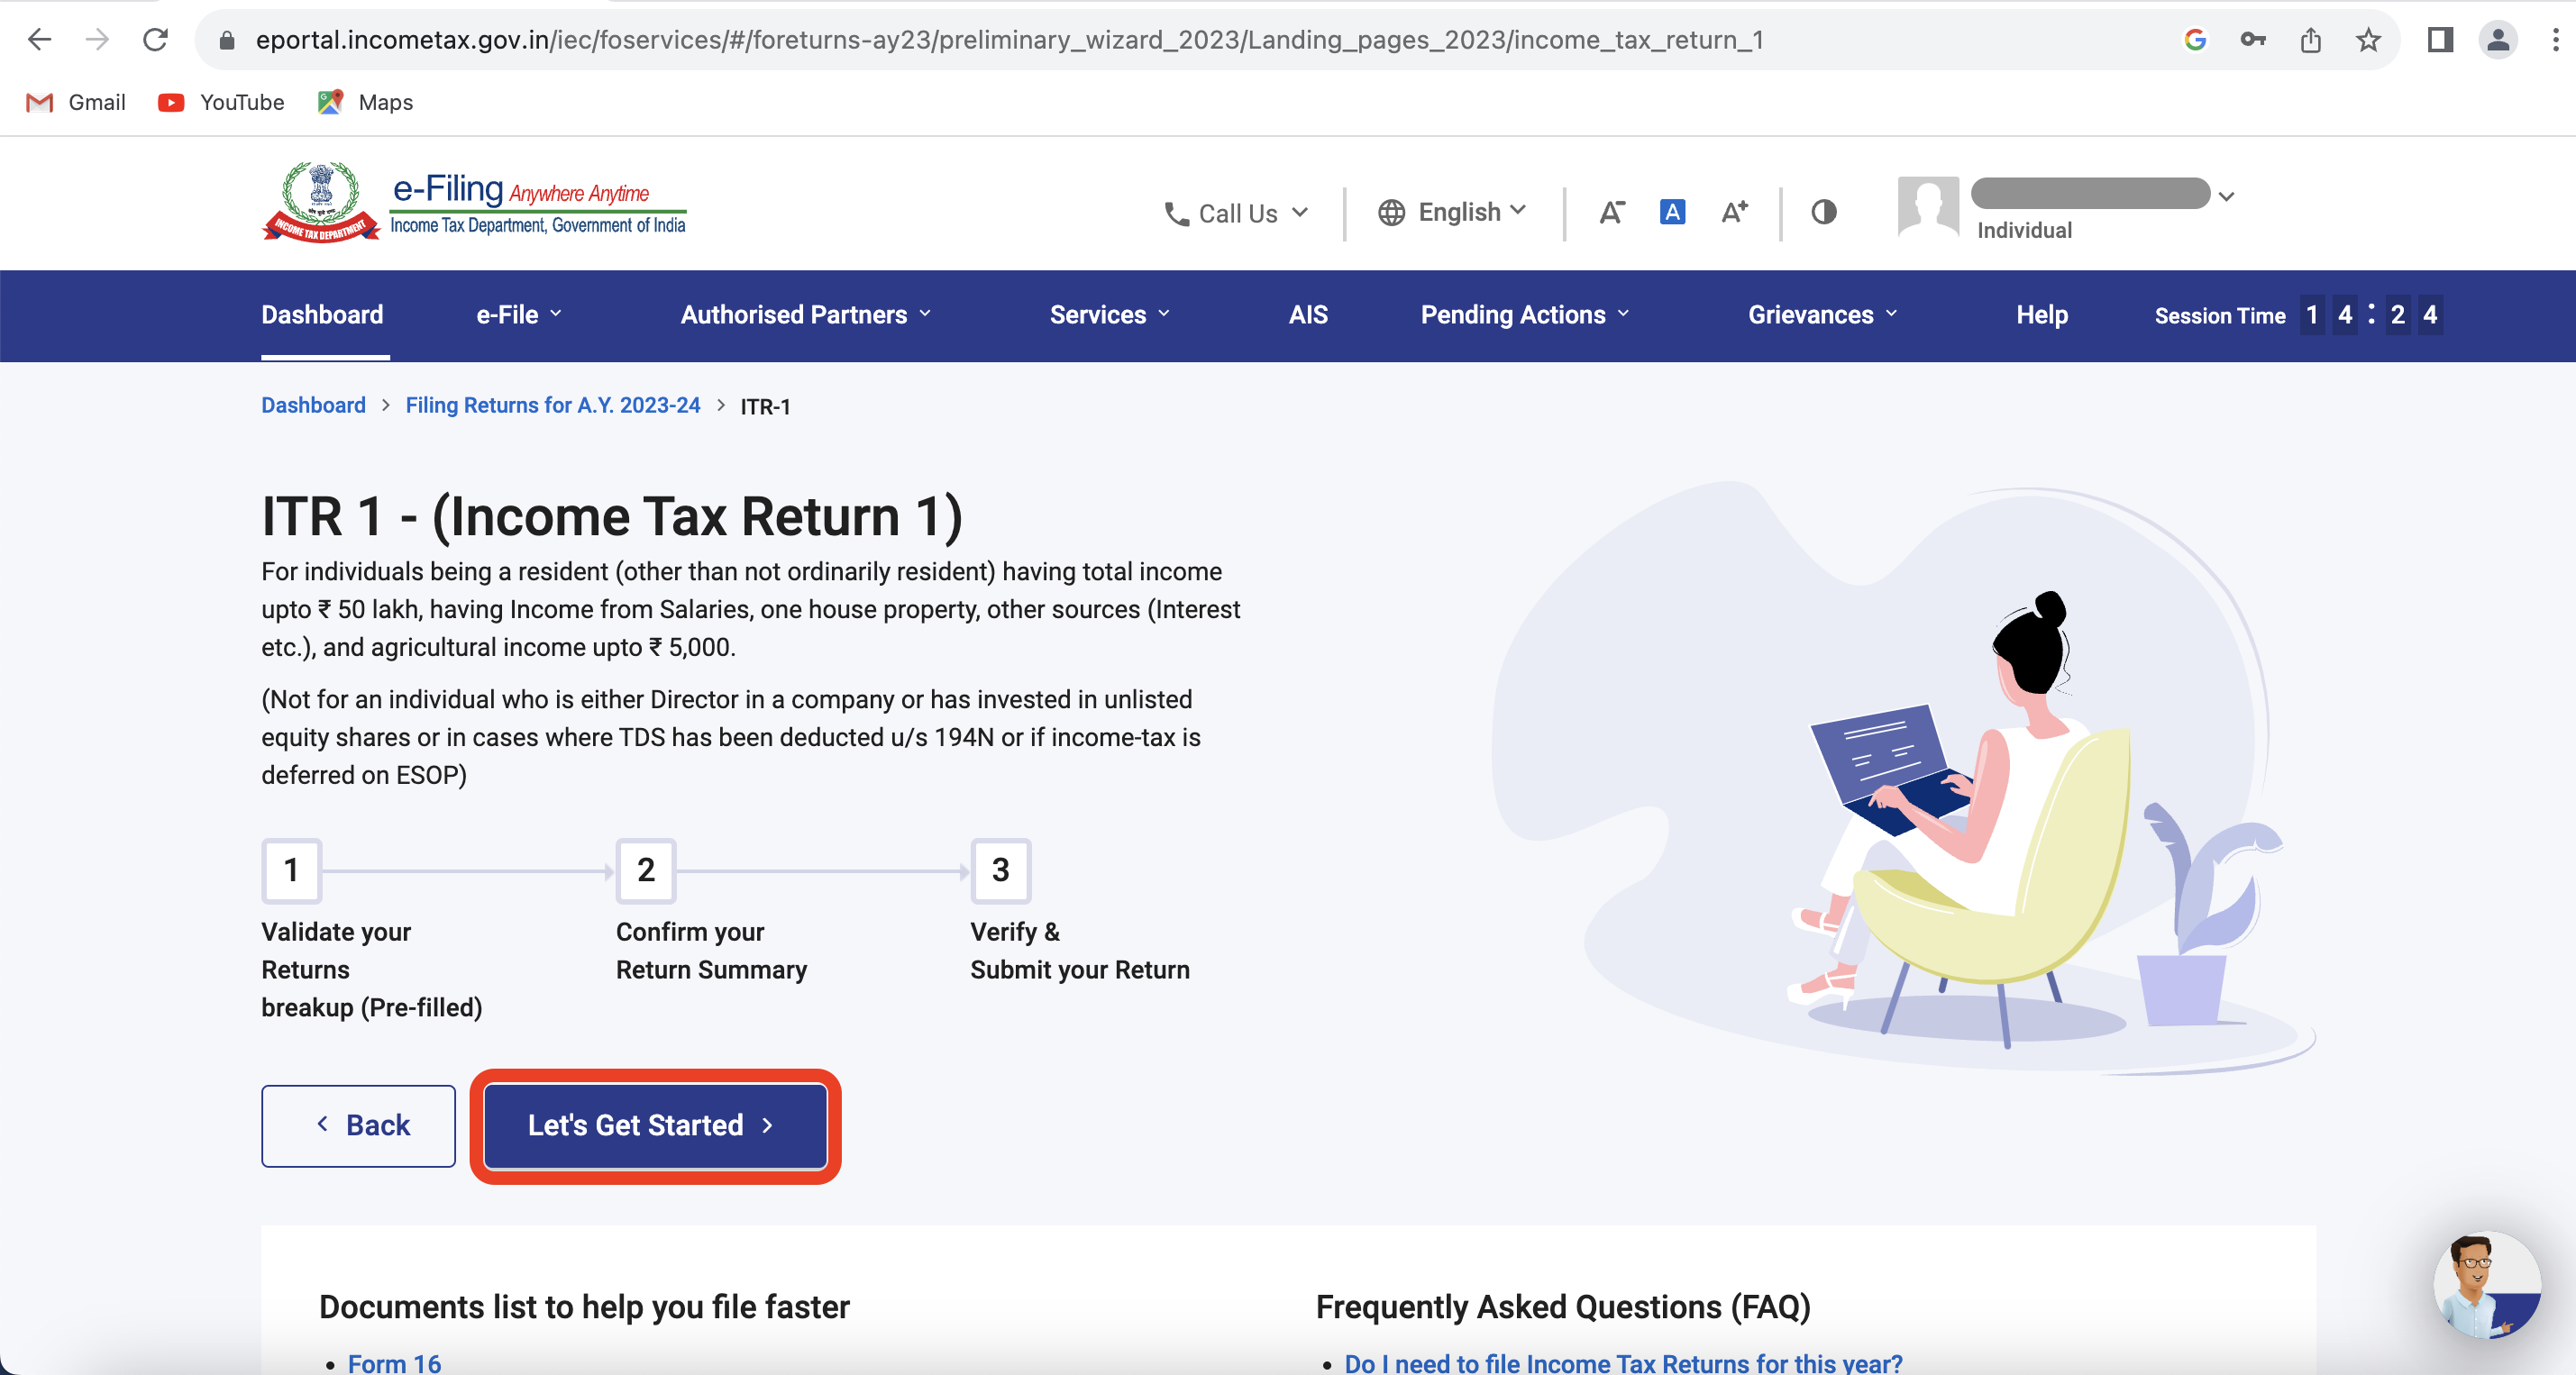
Step 8: Click on “Let’s get started” on this page
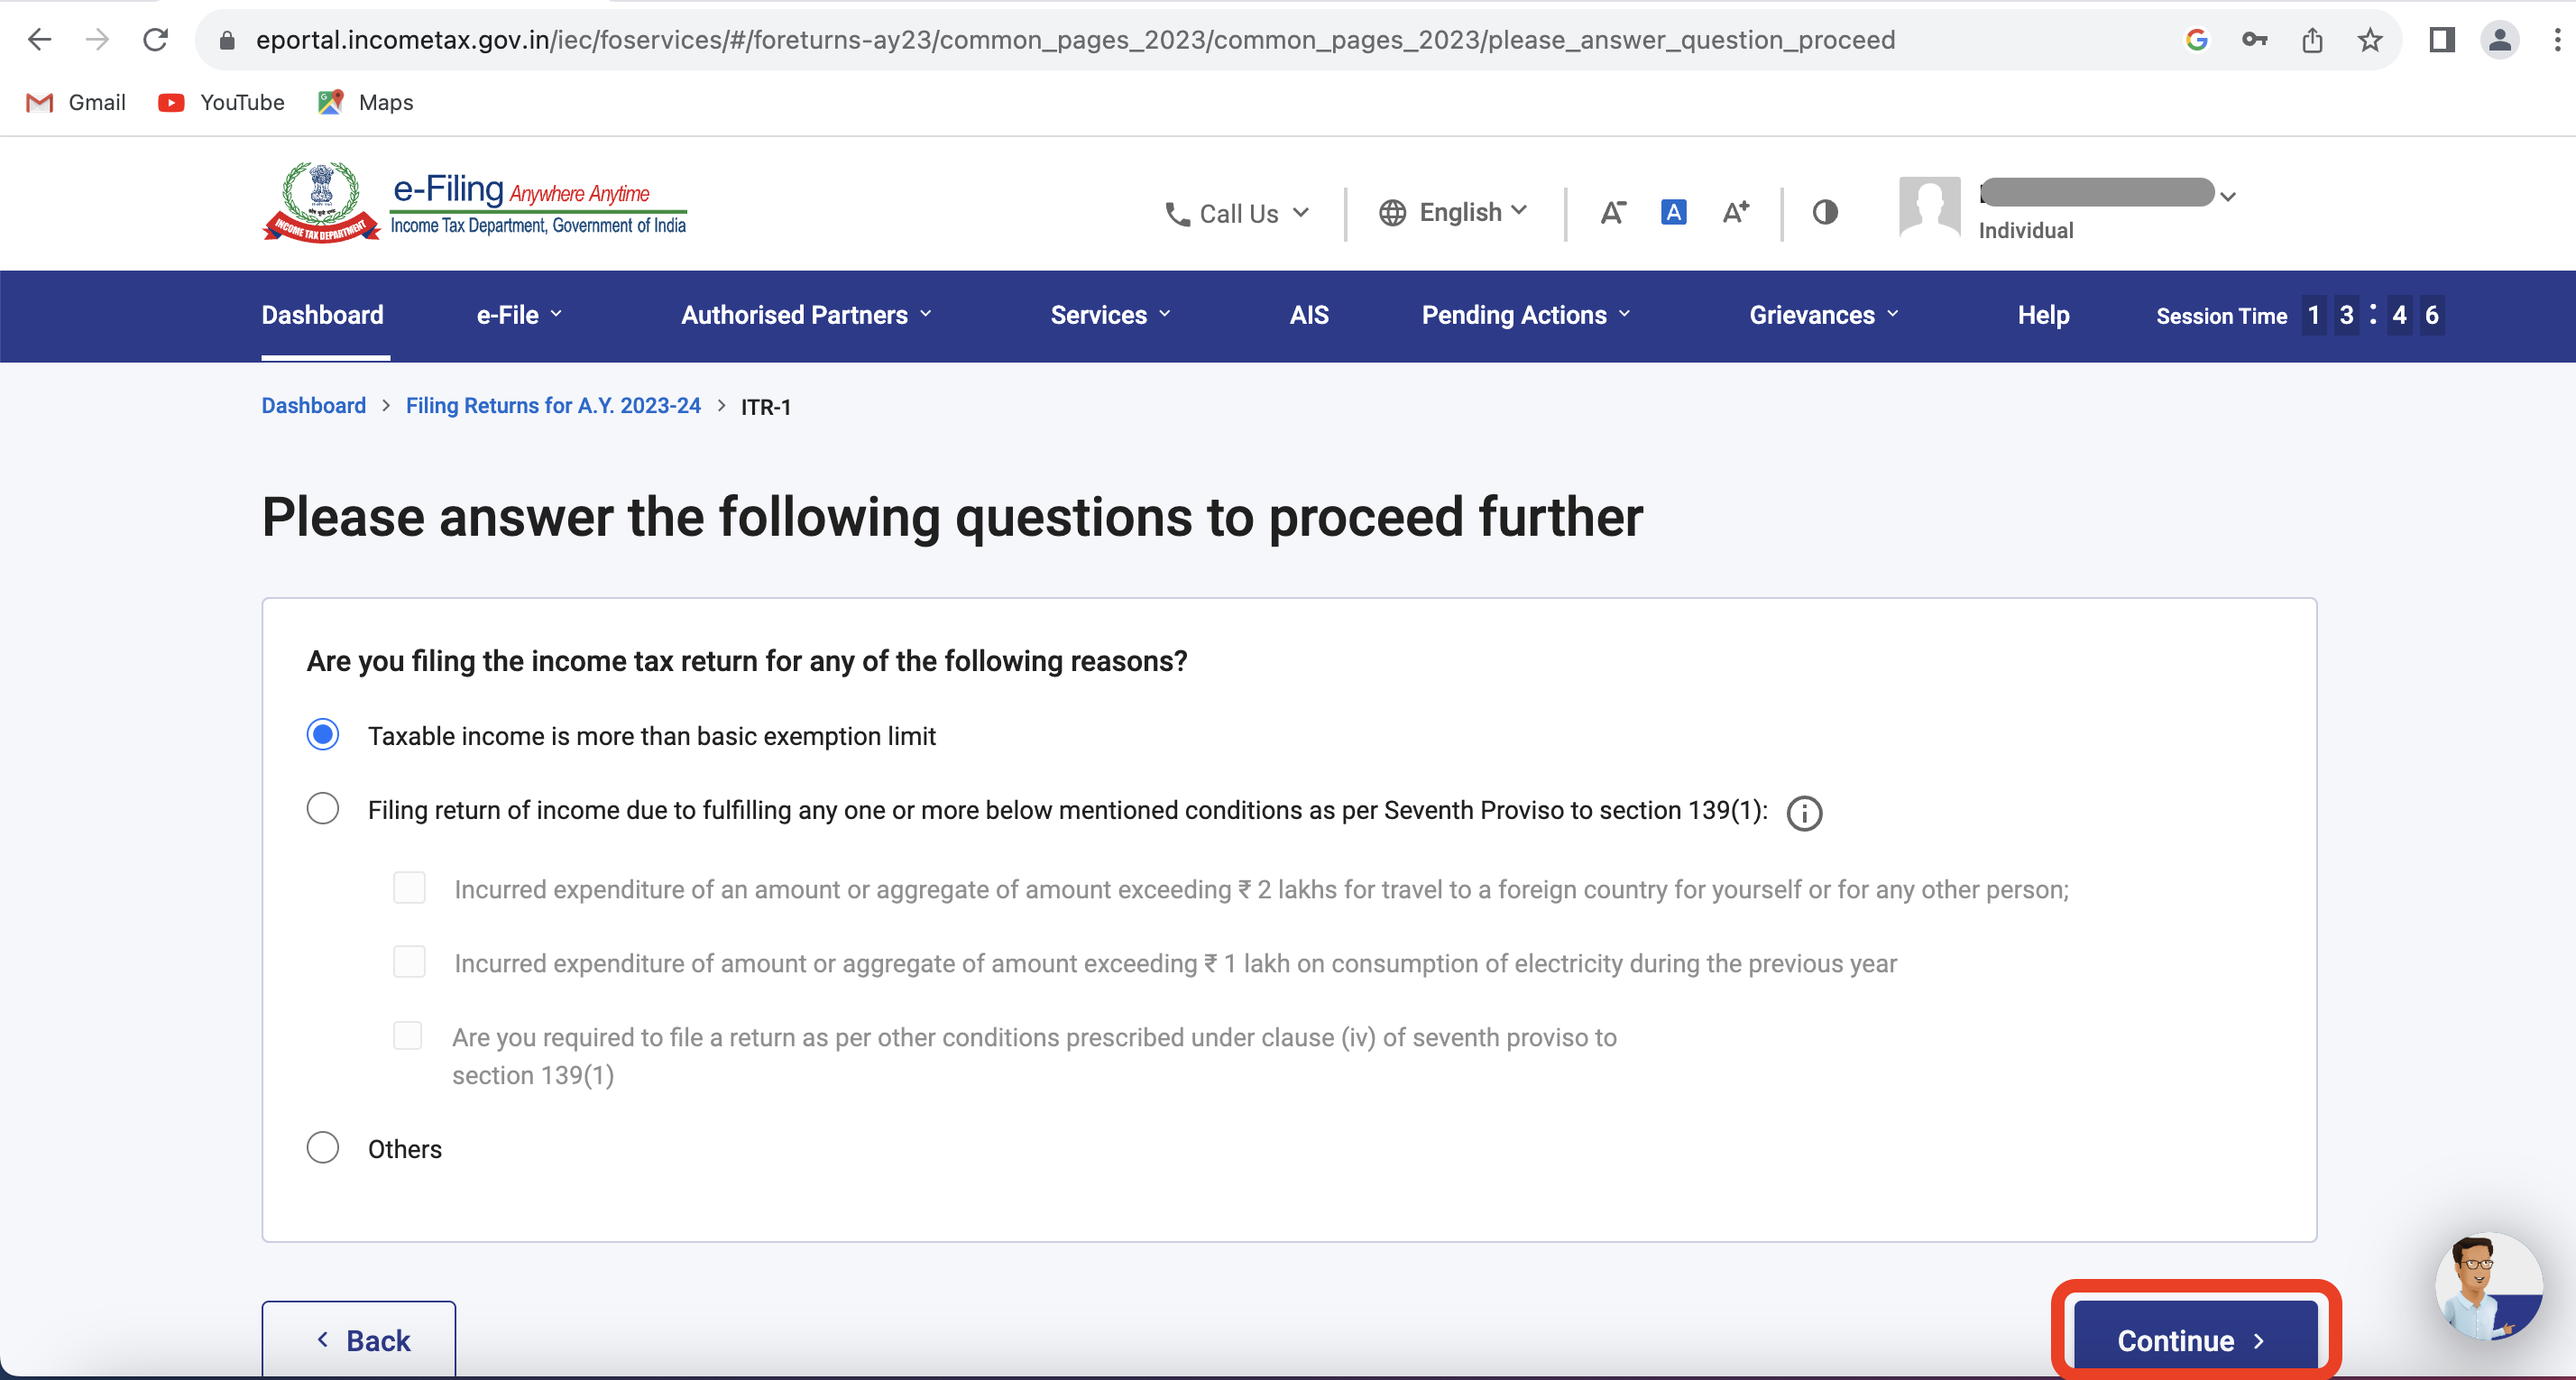
Step 9: Choose the applicable category and click on “Continue”
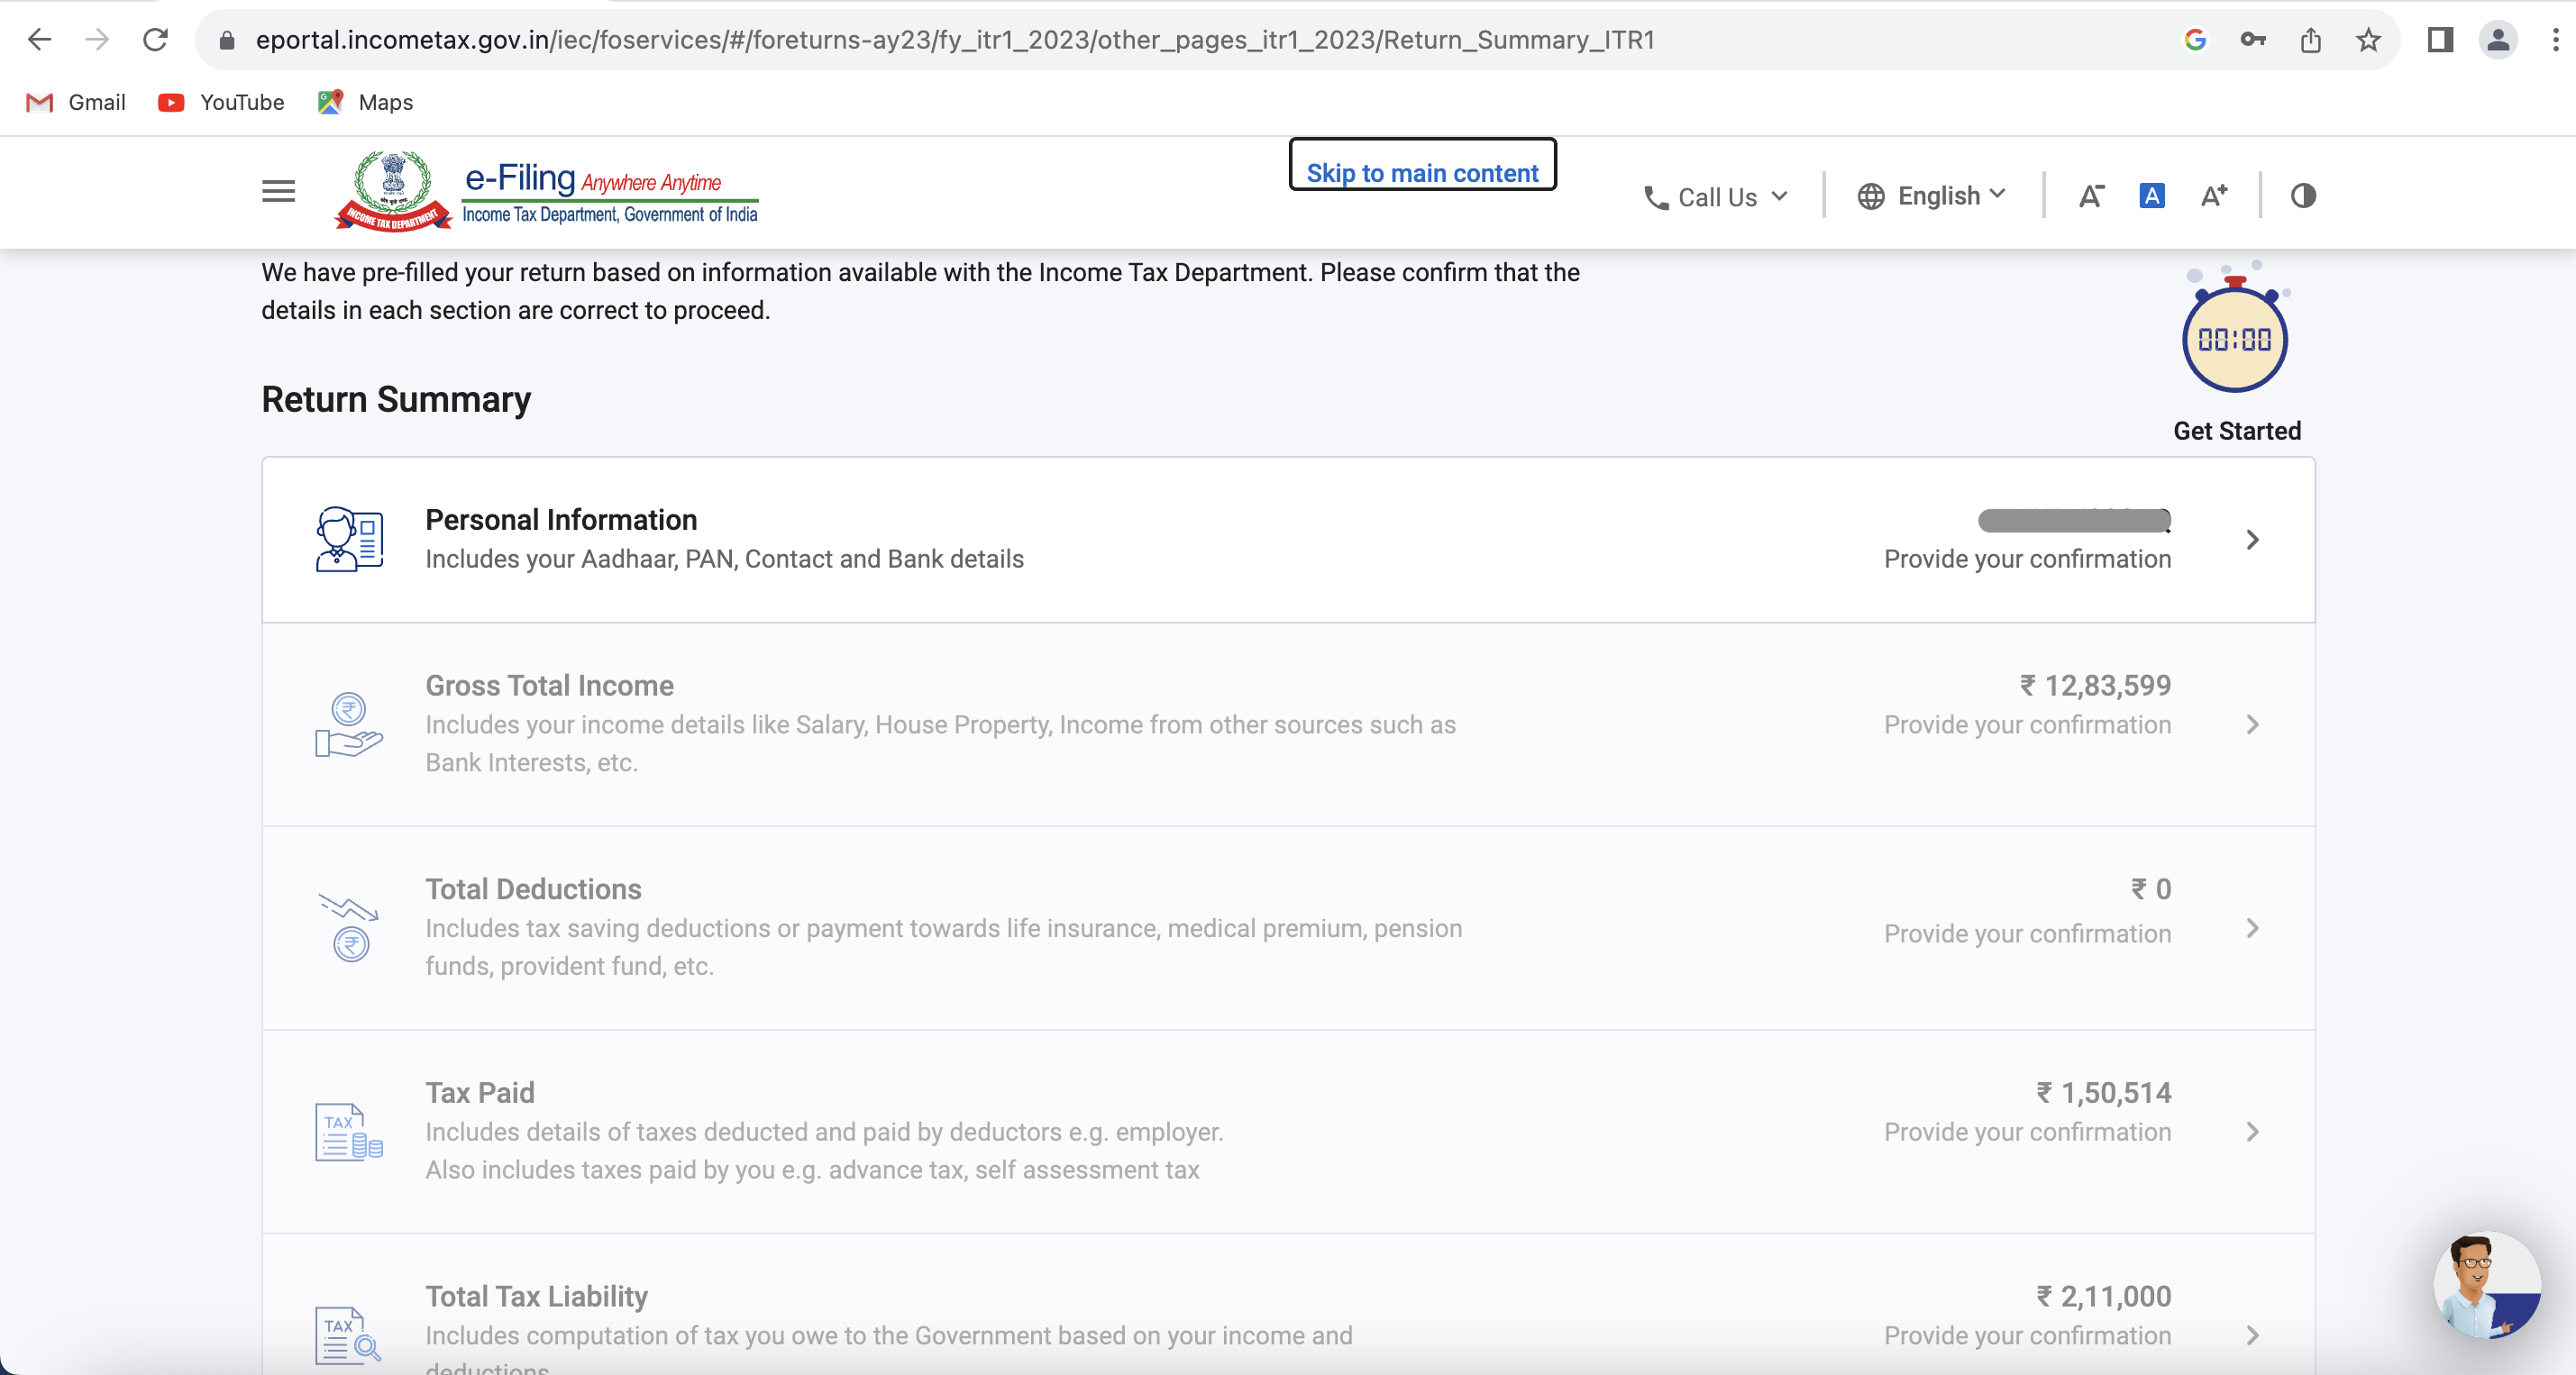
Step 10: You will be landed on this page. Here you need to fill each section before proceeding to the next section.
Step 11: If you click on the “Personal Information” section, this page will be opened. Here if you scroll to the bottom, you will find the “Filing Section” tab.
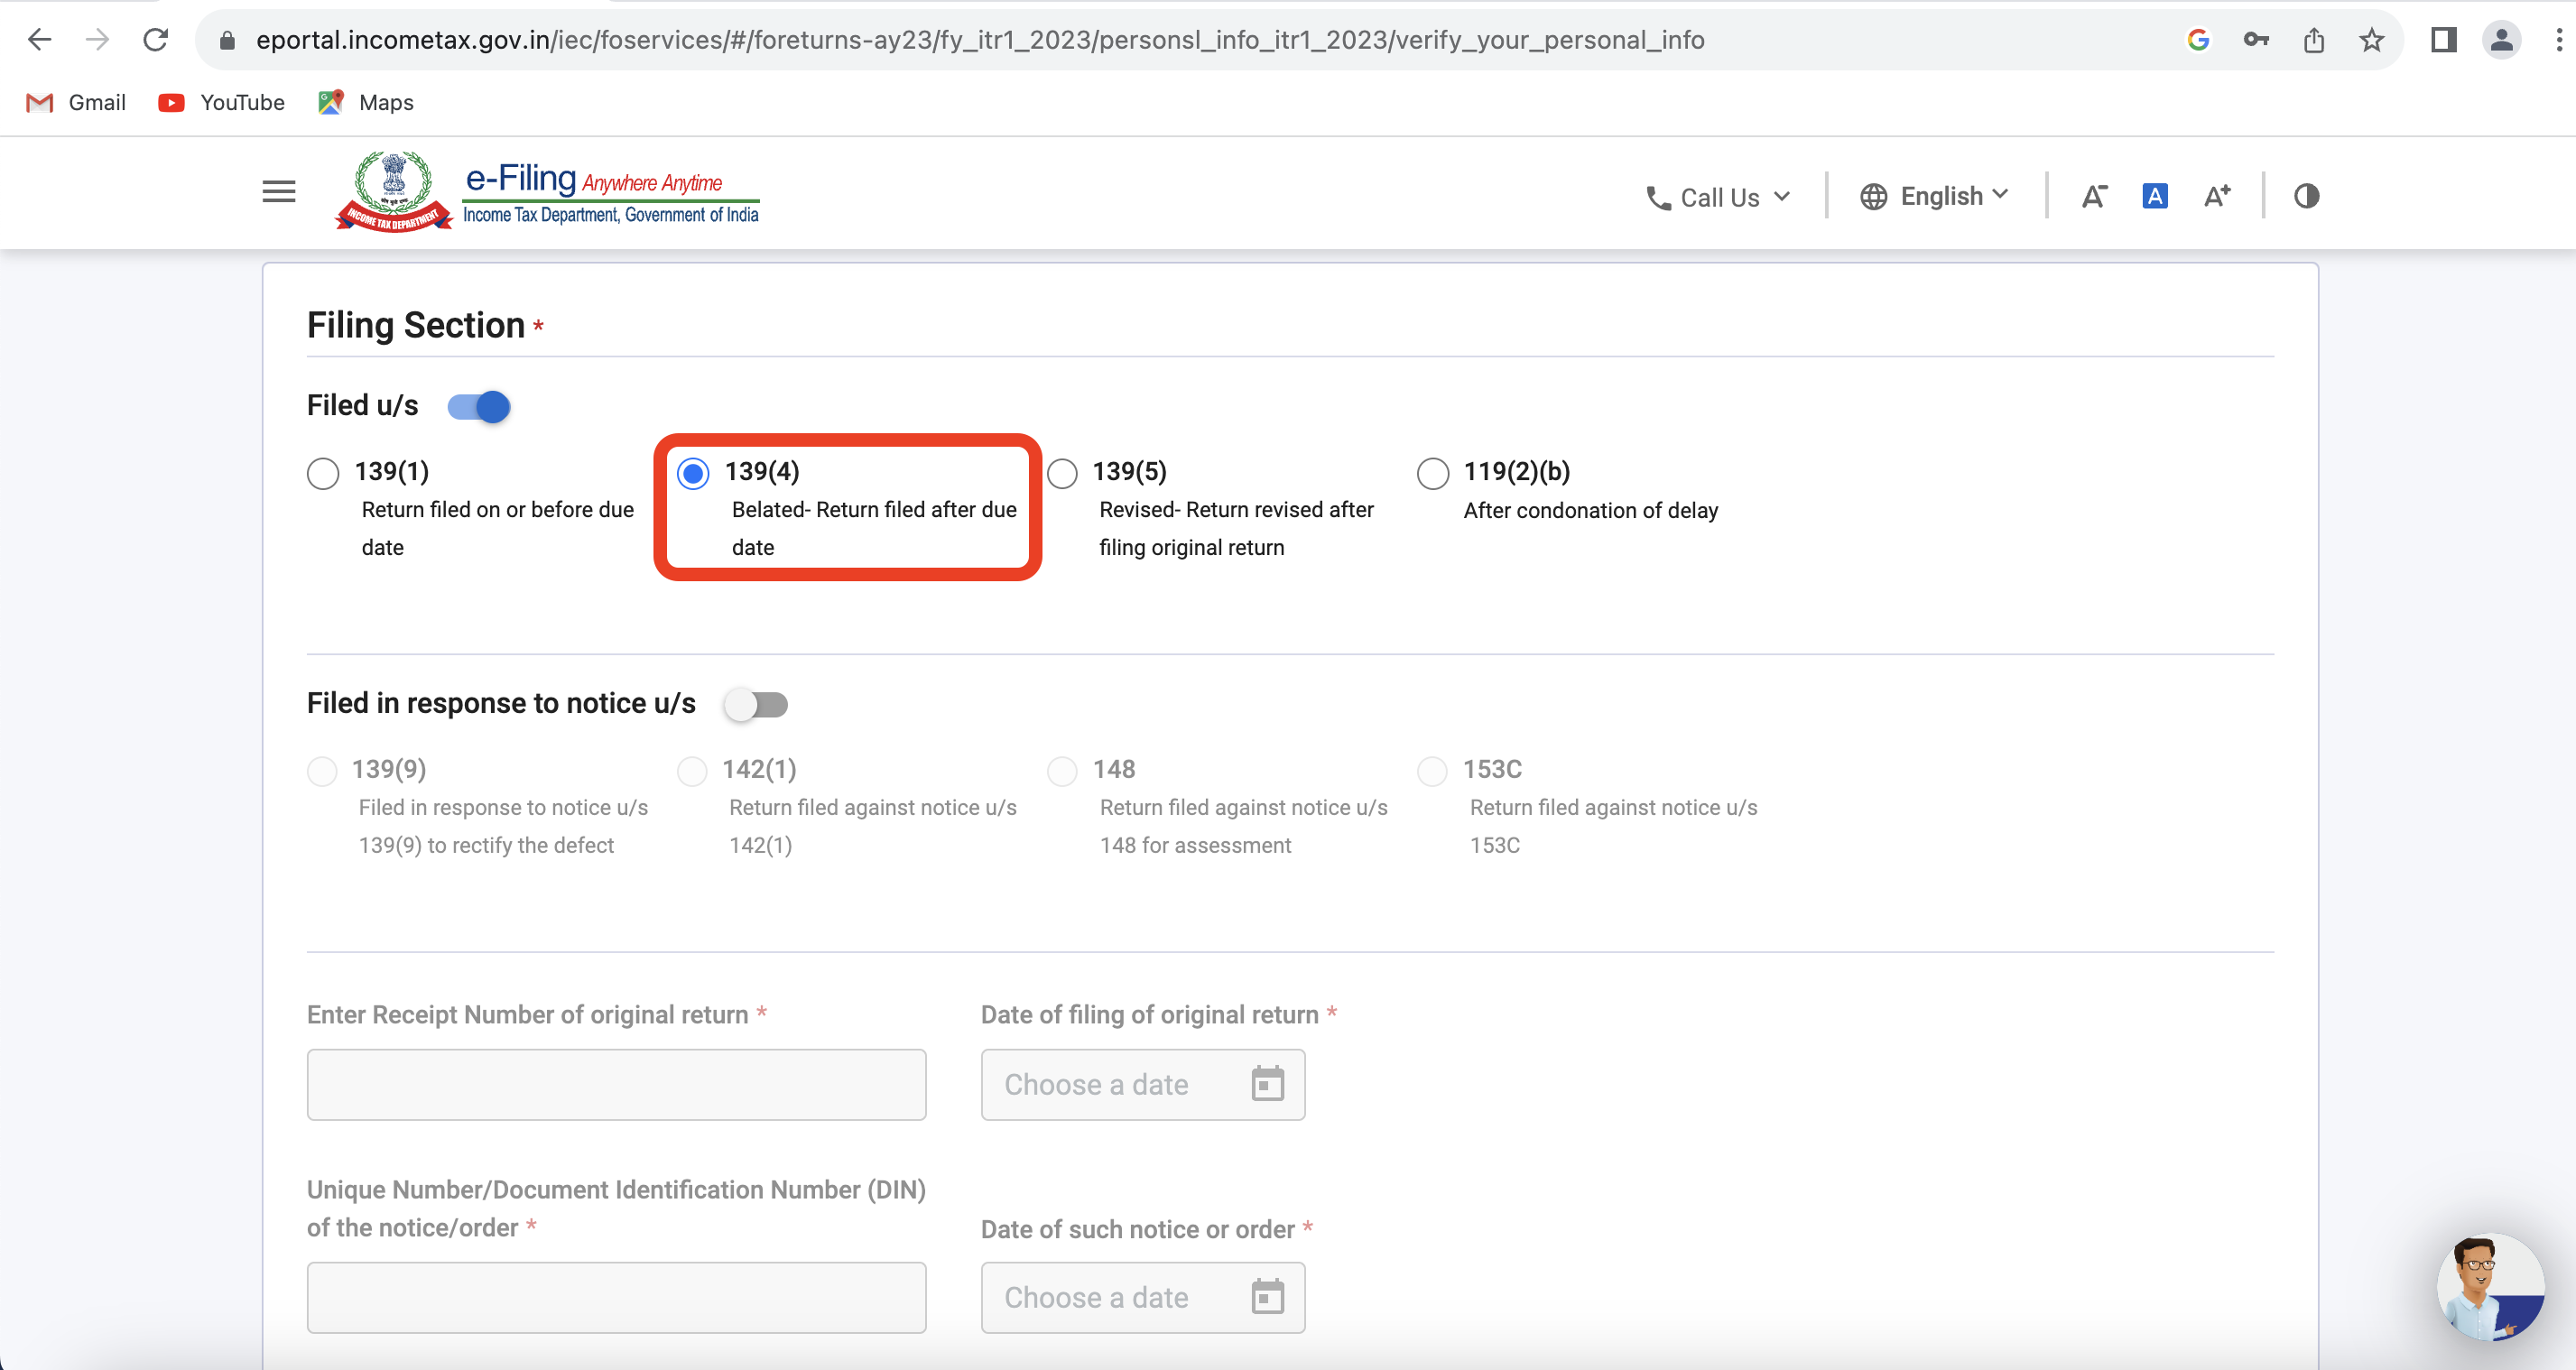
Here you need to choose ‘sec 139(4)’ for Belated Return. If you are filing an Original Return, the relevant section would be ‘sec 139(1)’. Other than this, all information you fill in ITR would be the same as your Original Return.
Check all the personal information and bank details on this page and click on “Confirm” at the bottom of the page.
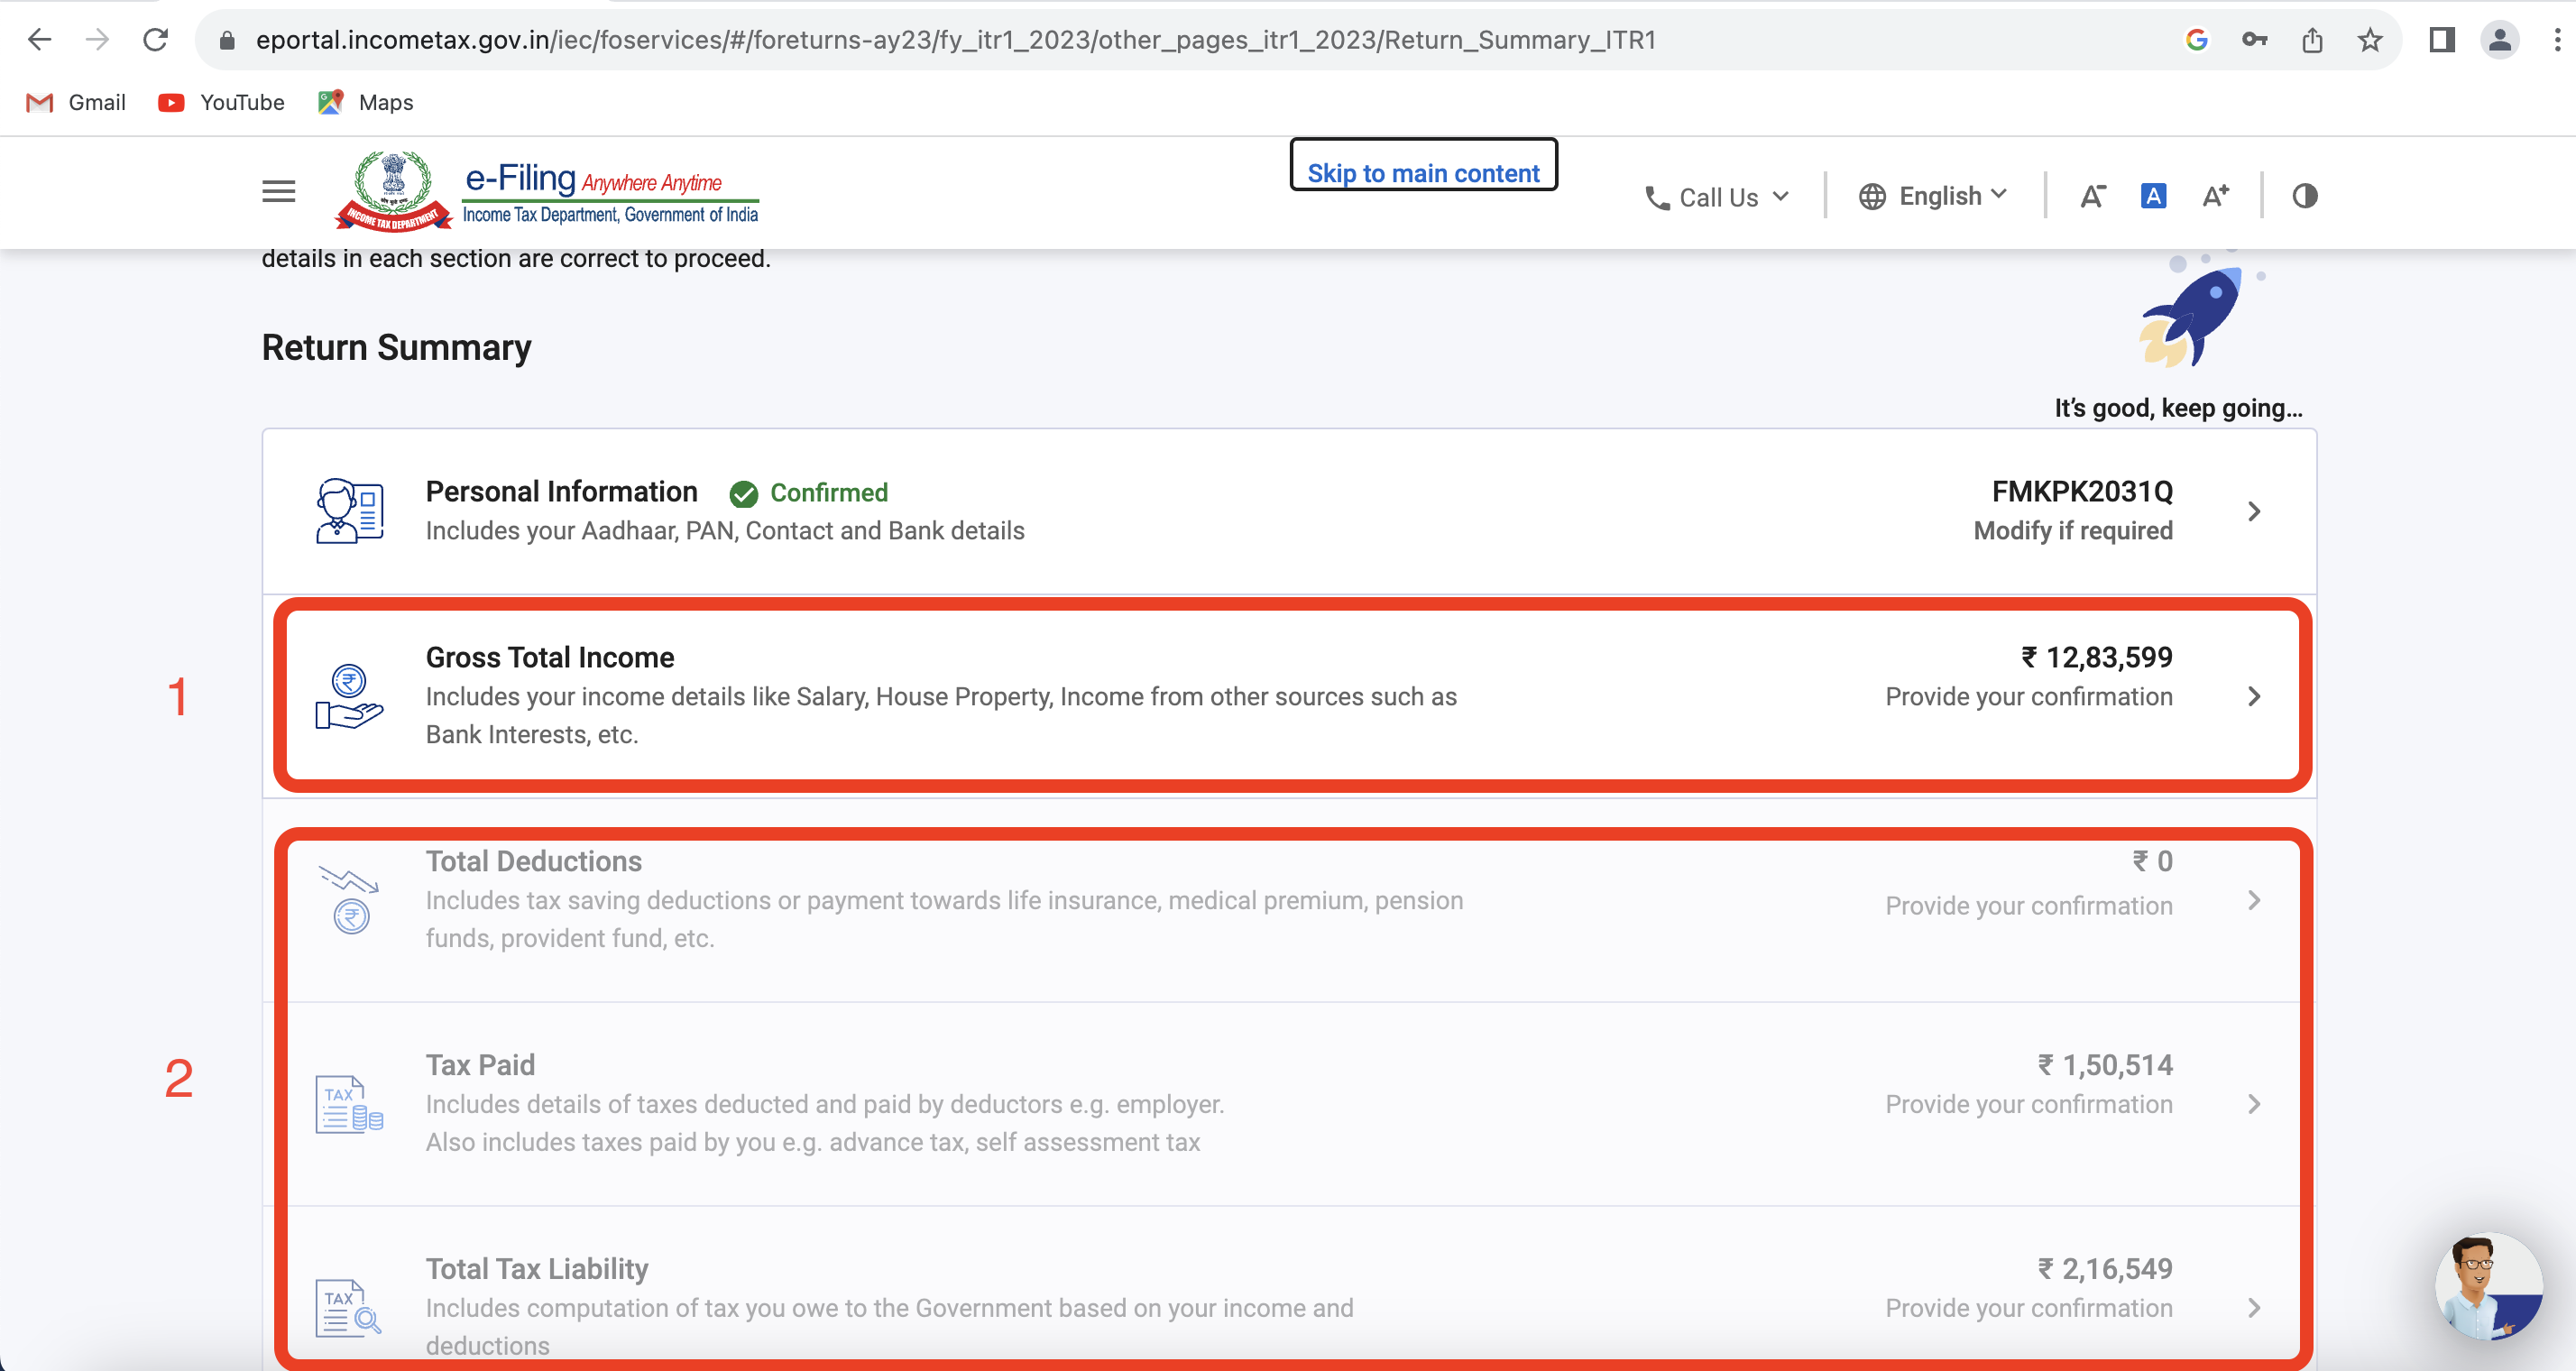
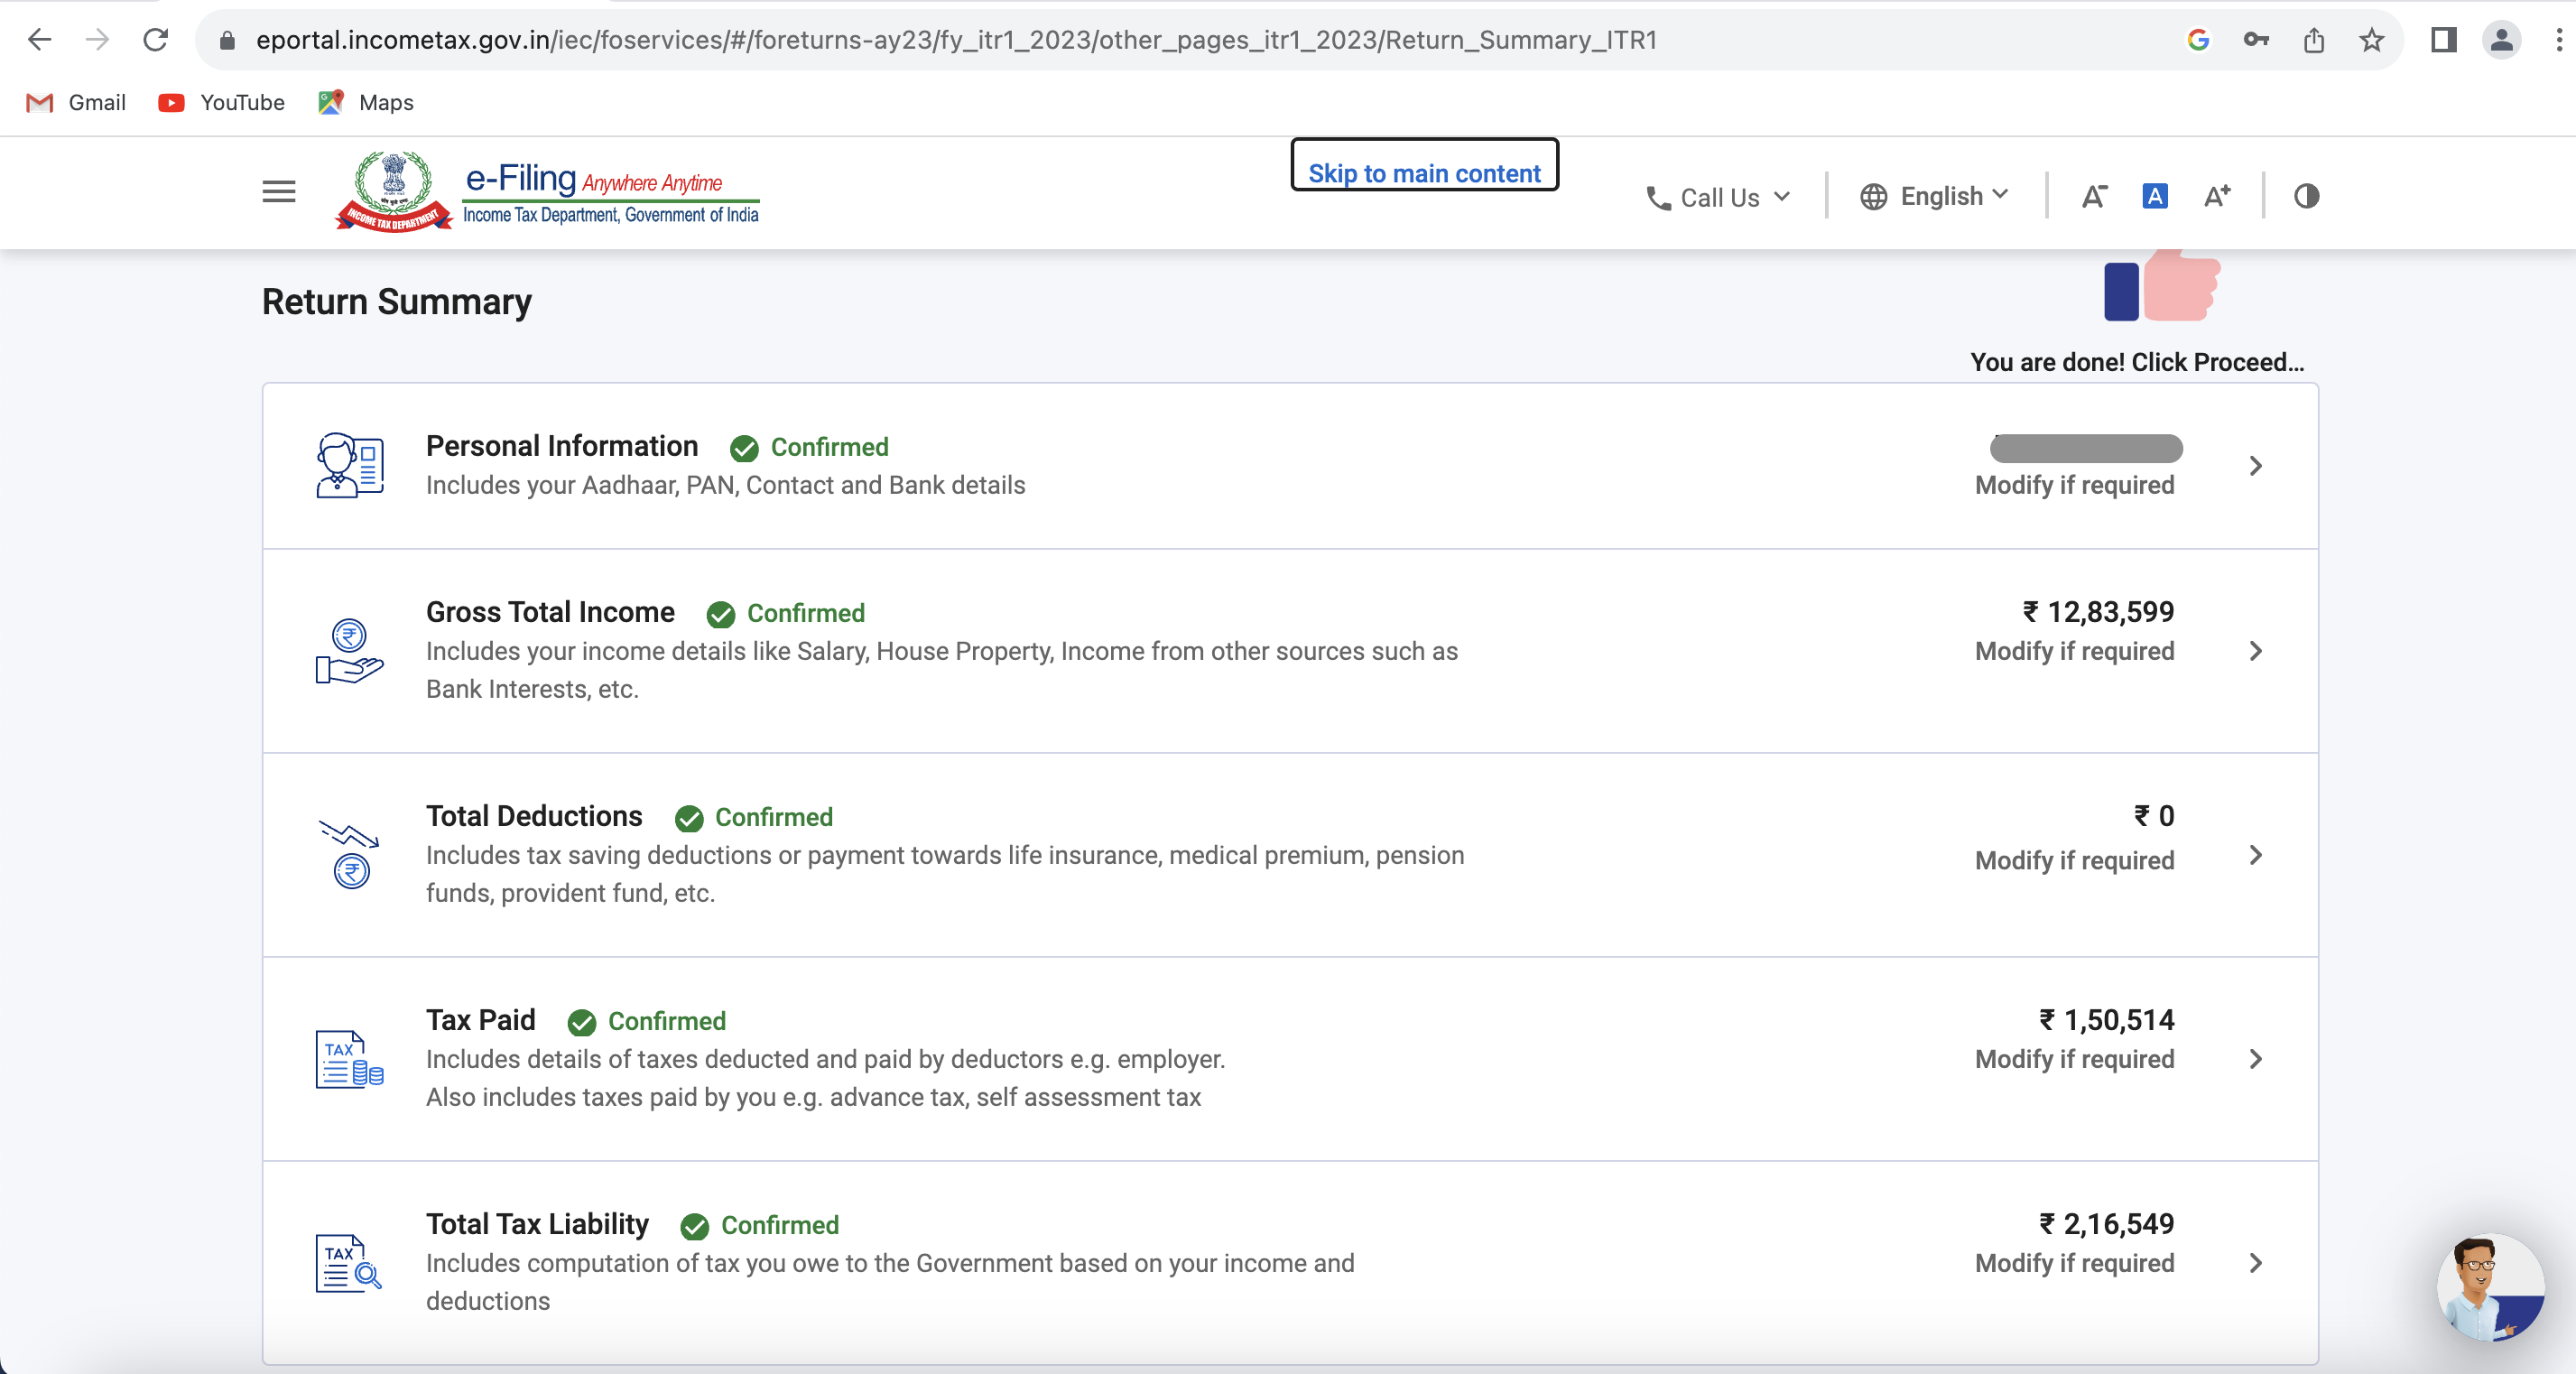
Step 12: After that, again you will be redirected to the “Return Summary” page and the personal information tab shows as complete. The next section will be “Gross Total Income” unlocked, pls fill in all your income details in this section and confirm.
Repeat this process for the next tabs (Total deductions, Tax paid & Total Tax Liability) as well and click on “Proceed”
Step 13: Once all steps are completed, you could see a screen with all green ticks against each item which means the all data entry is done. Now click on “Proceed”
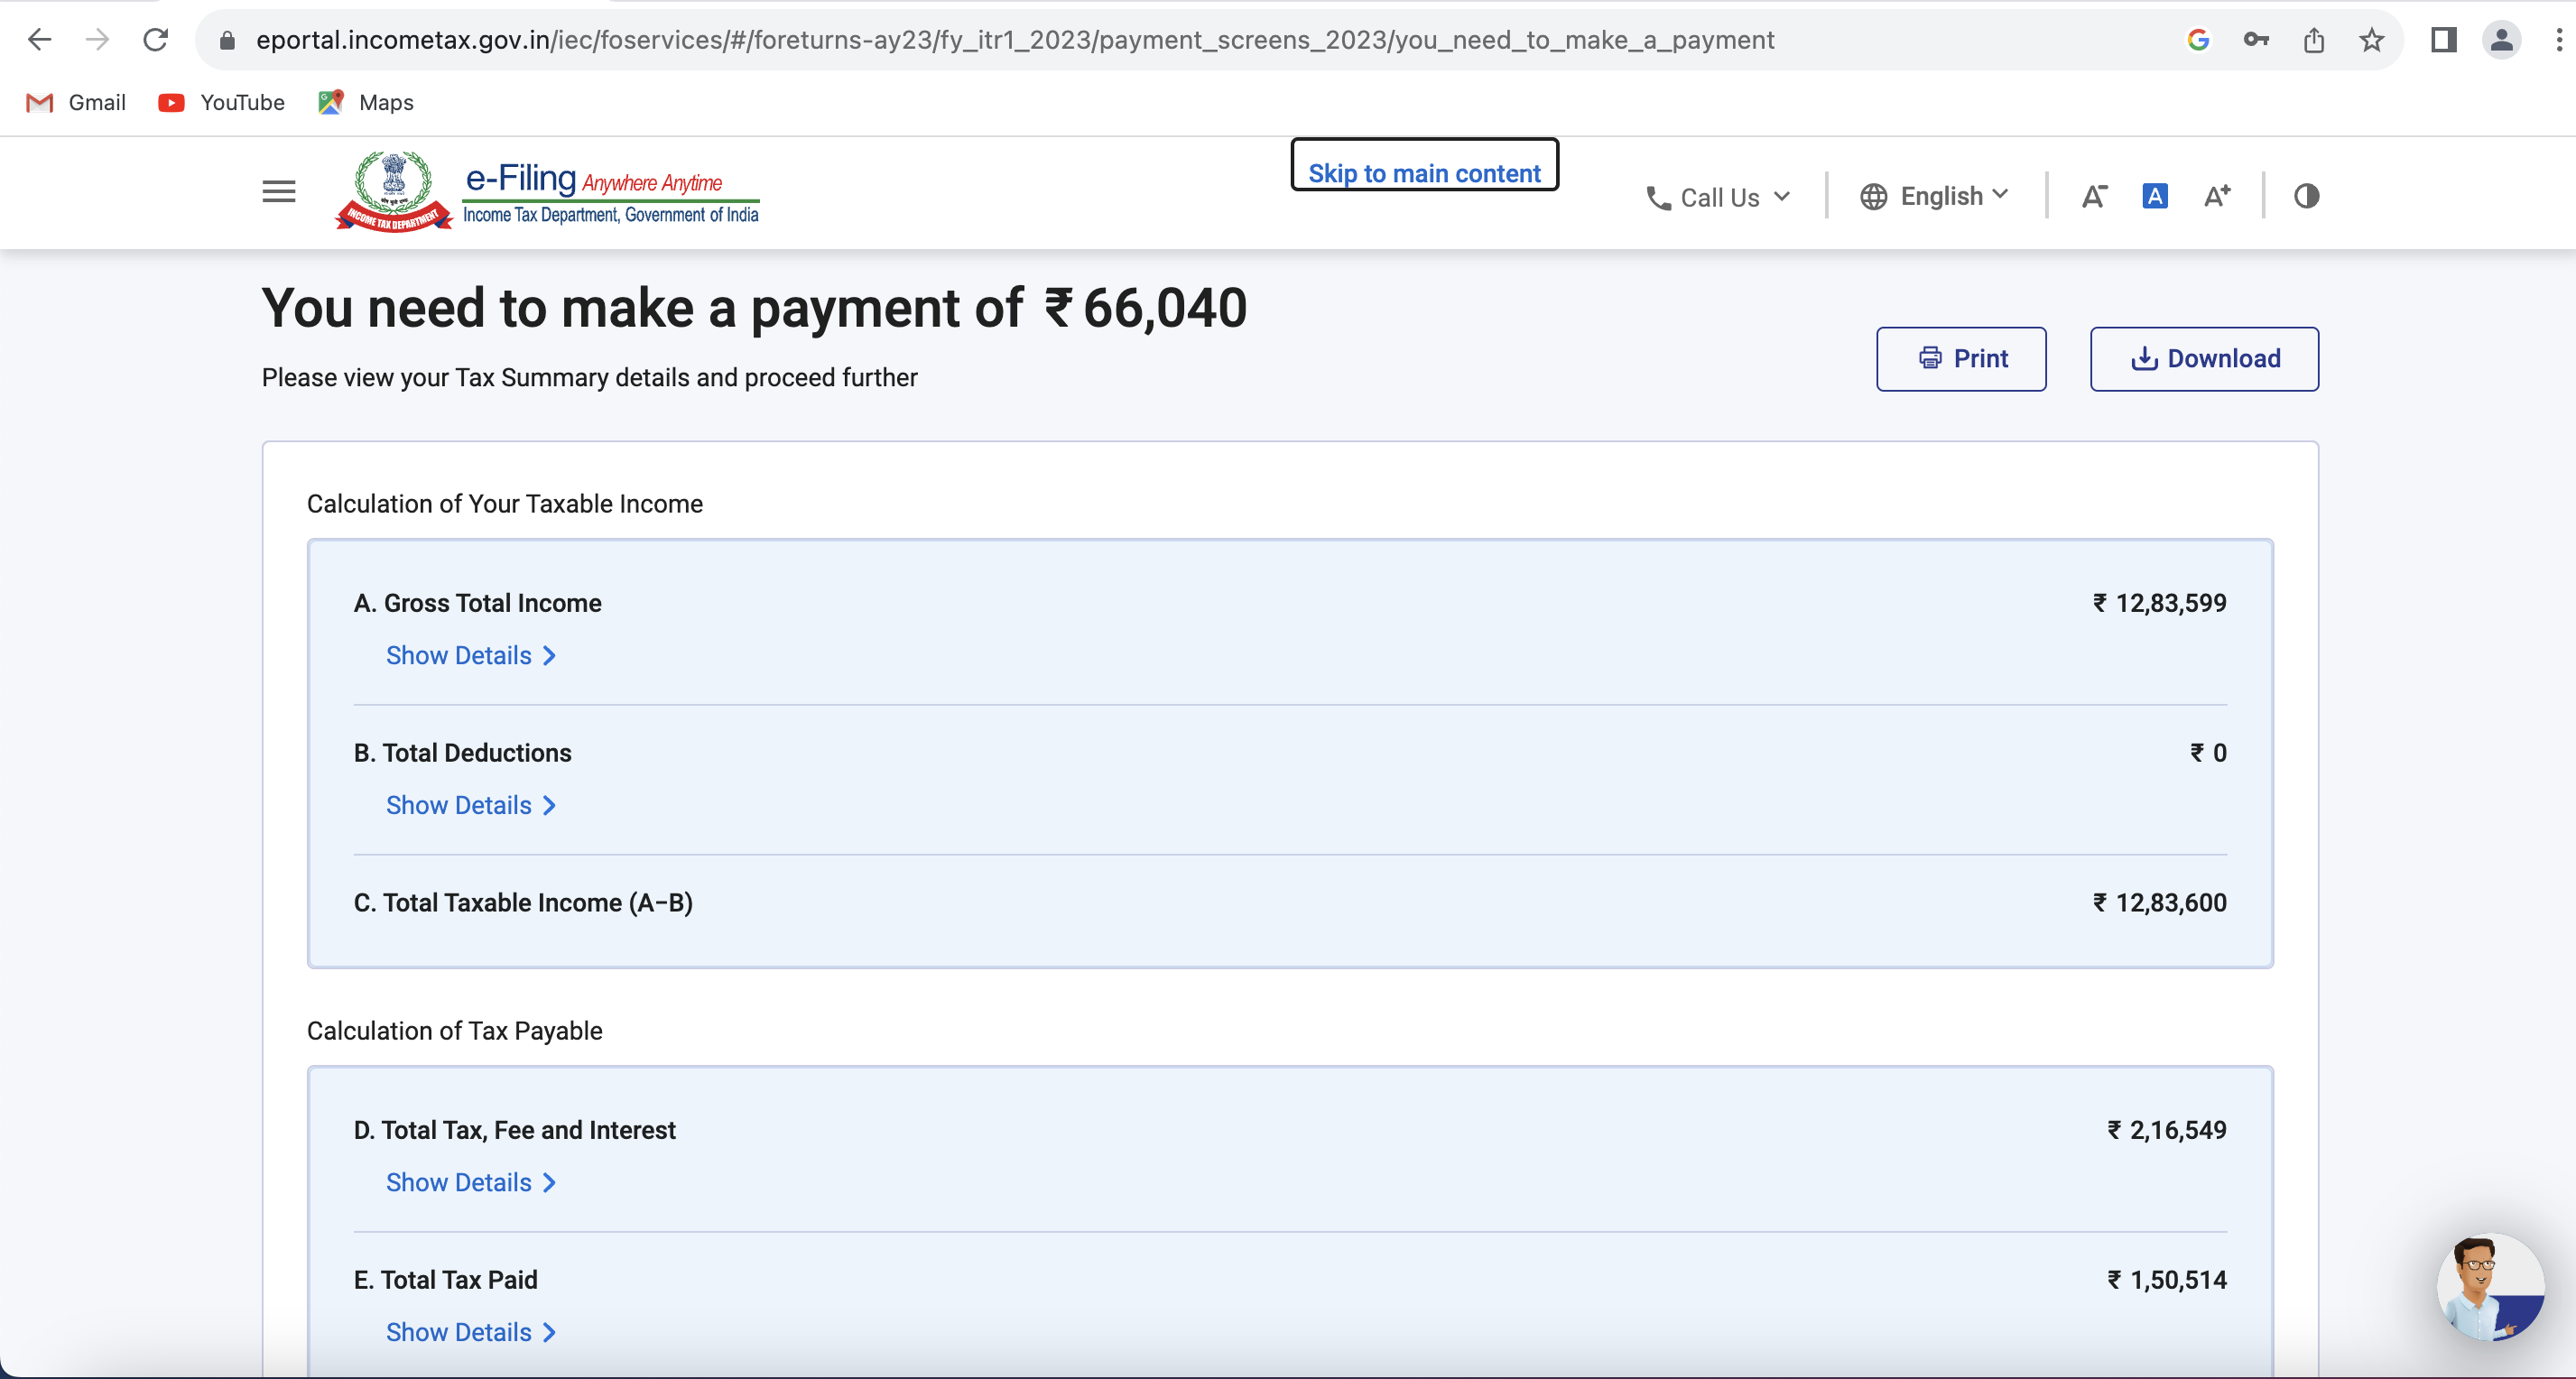
Step 14: On the next screen, either your tax liability or refund will be shown. If you are liable to pay additional tax, you need to remit it before filing ITR and fill those details in ‘Advance tax & Self-assessment tax payments’ under the “Taxes paid” section. Instead, if you are eligible for refund, confirm the refund amount.
Upon entering your tax details, proceed to “Preview Return”
Step 15: On this page, tick the checkbox and click on “Proceed to preview”

Step 16: Then you will get a complete preview of your ITR. You can download it or Print it by using the buttons on the top right side. Take some time and check all your data before proceeding to the next step.
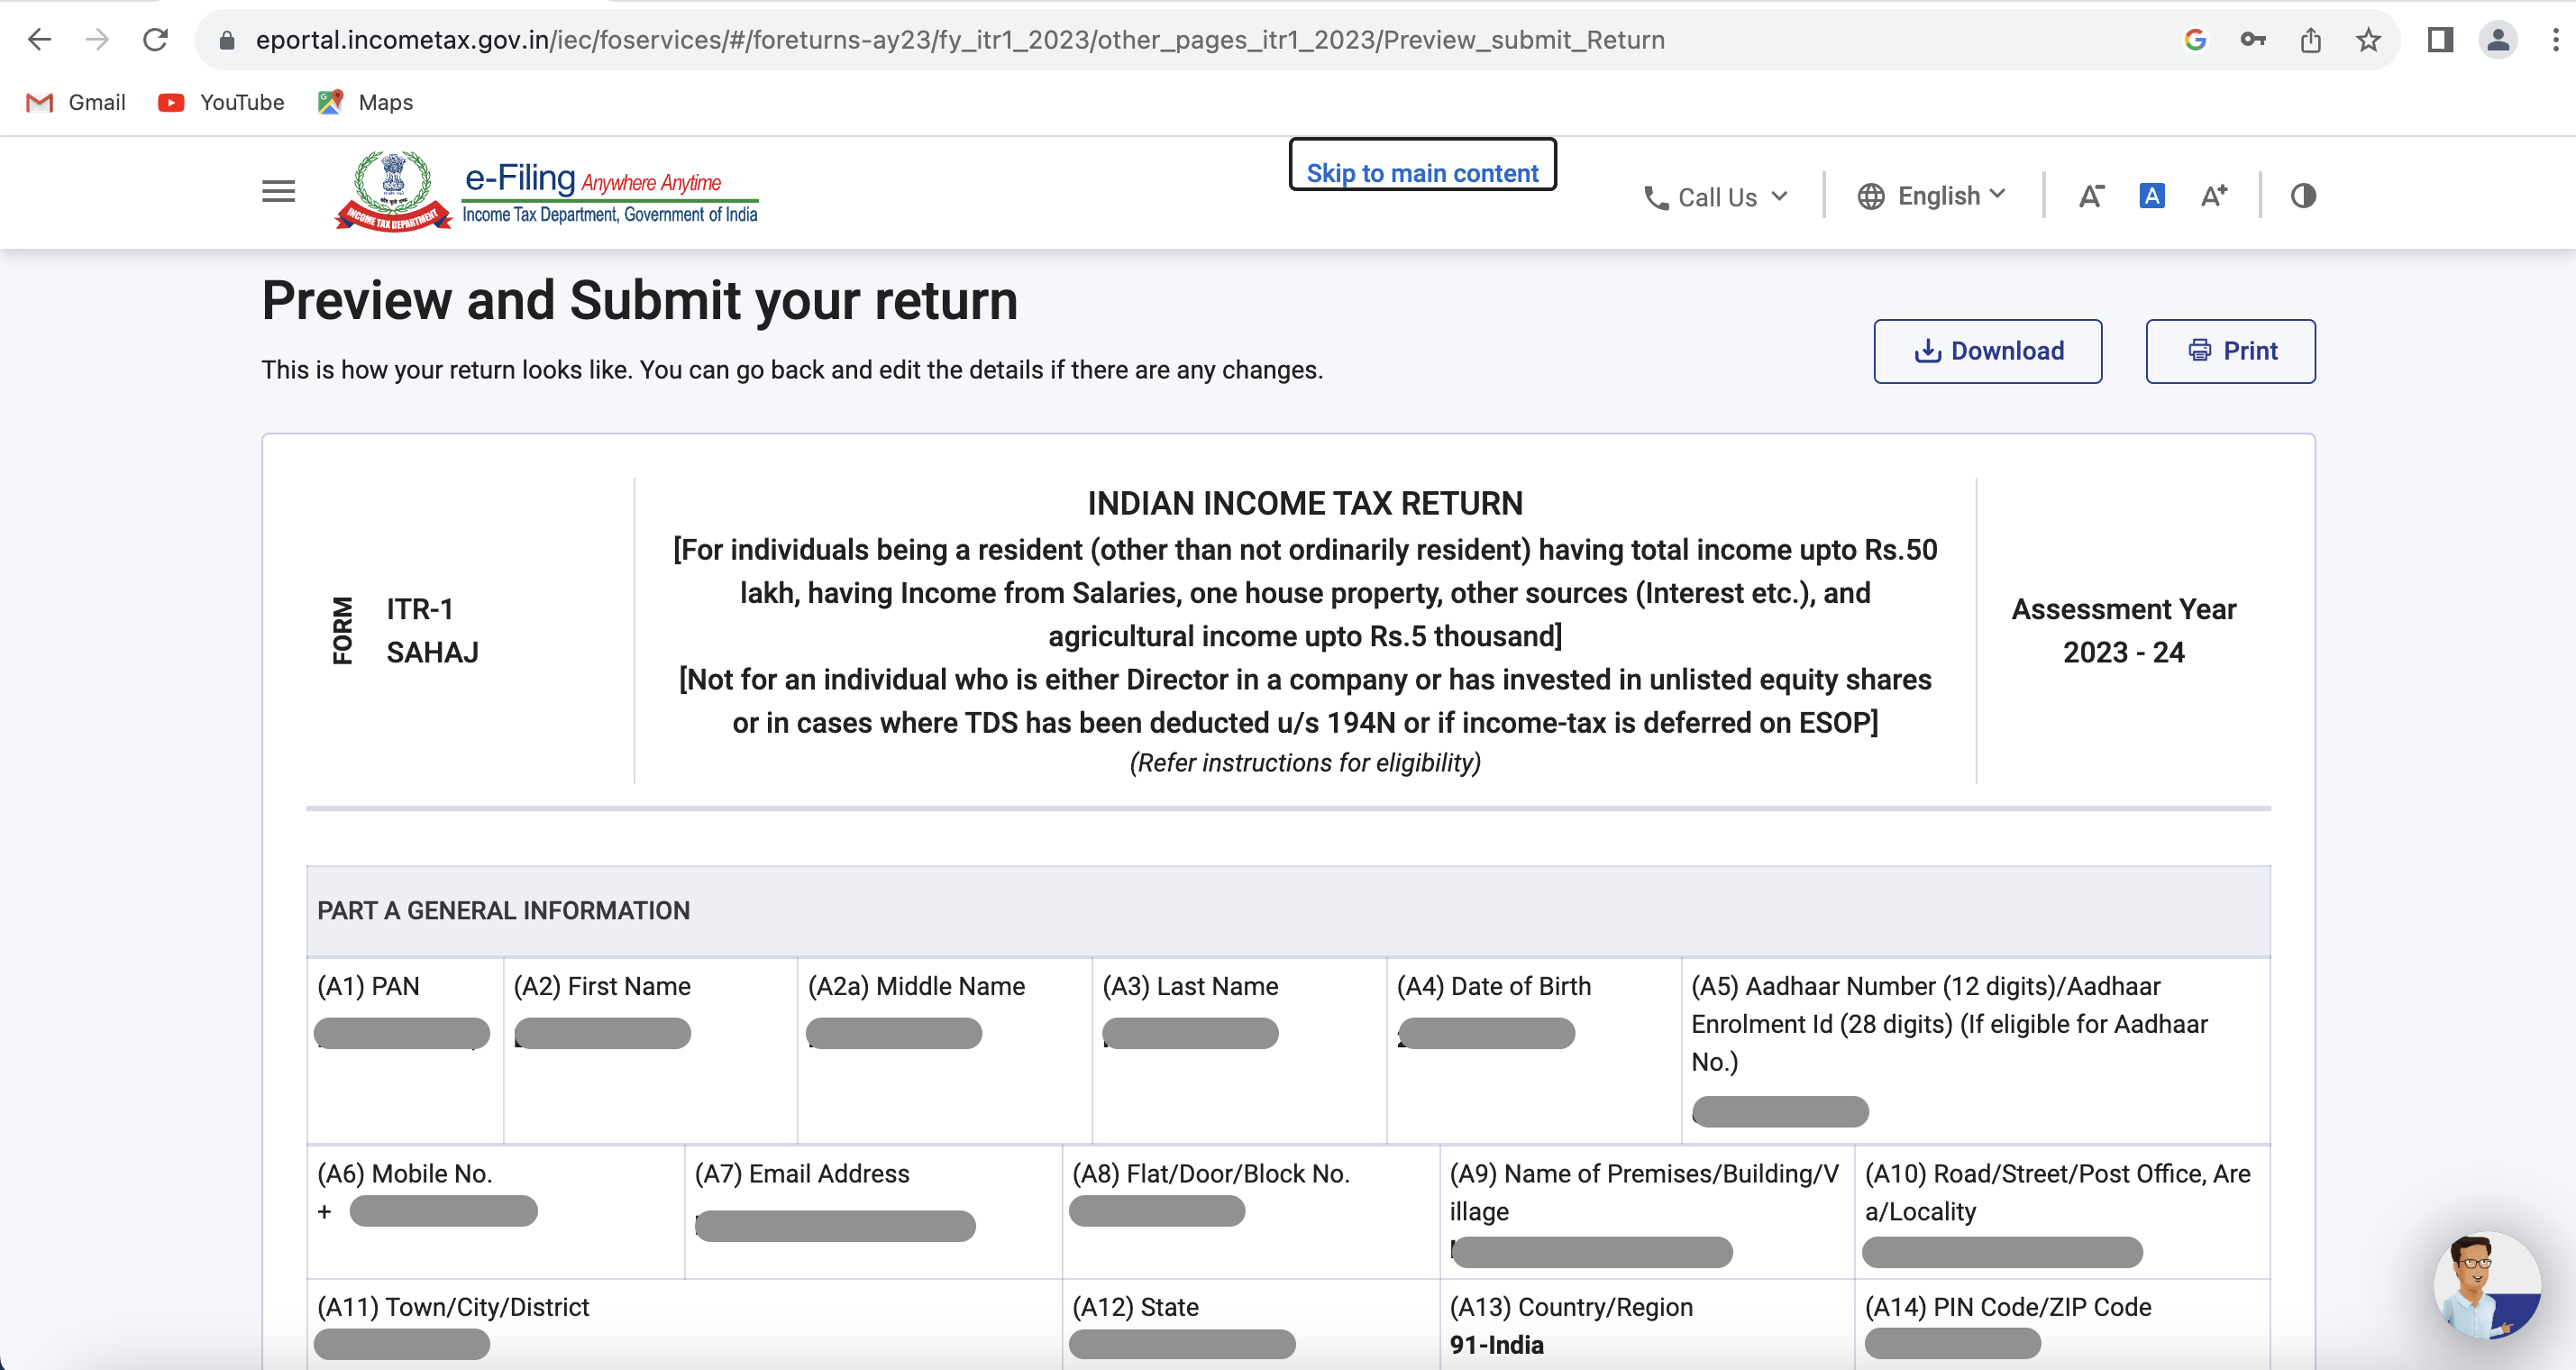
If you are confident that all the data is correct, then scroll down and click on “Proceed to validation”
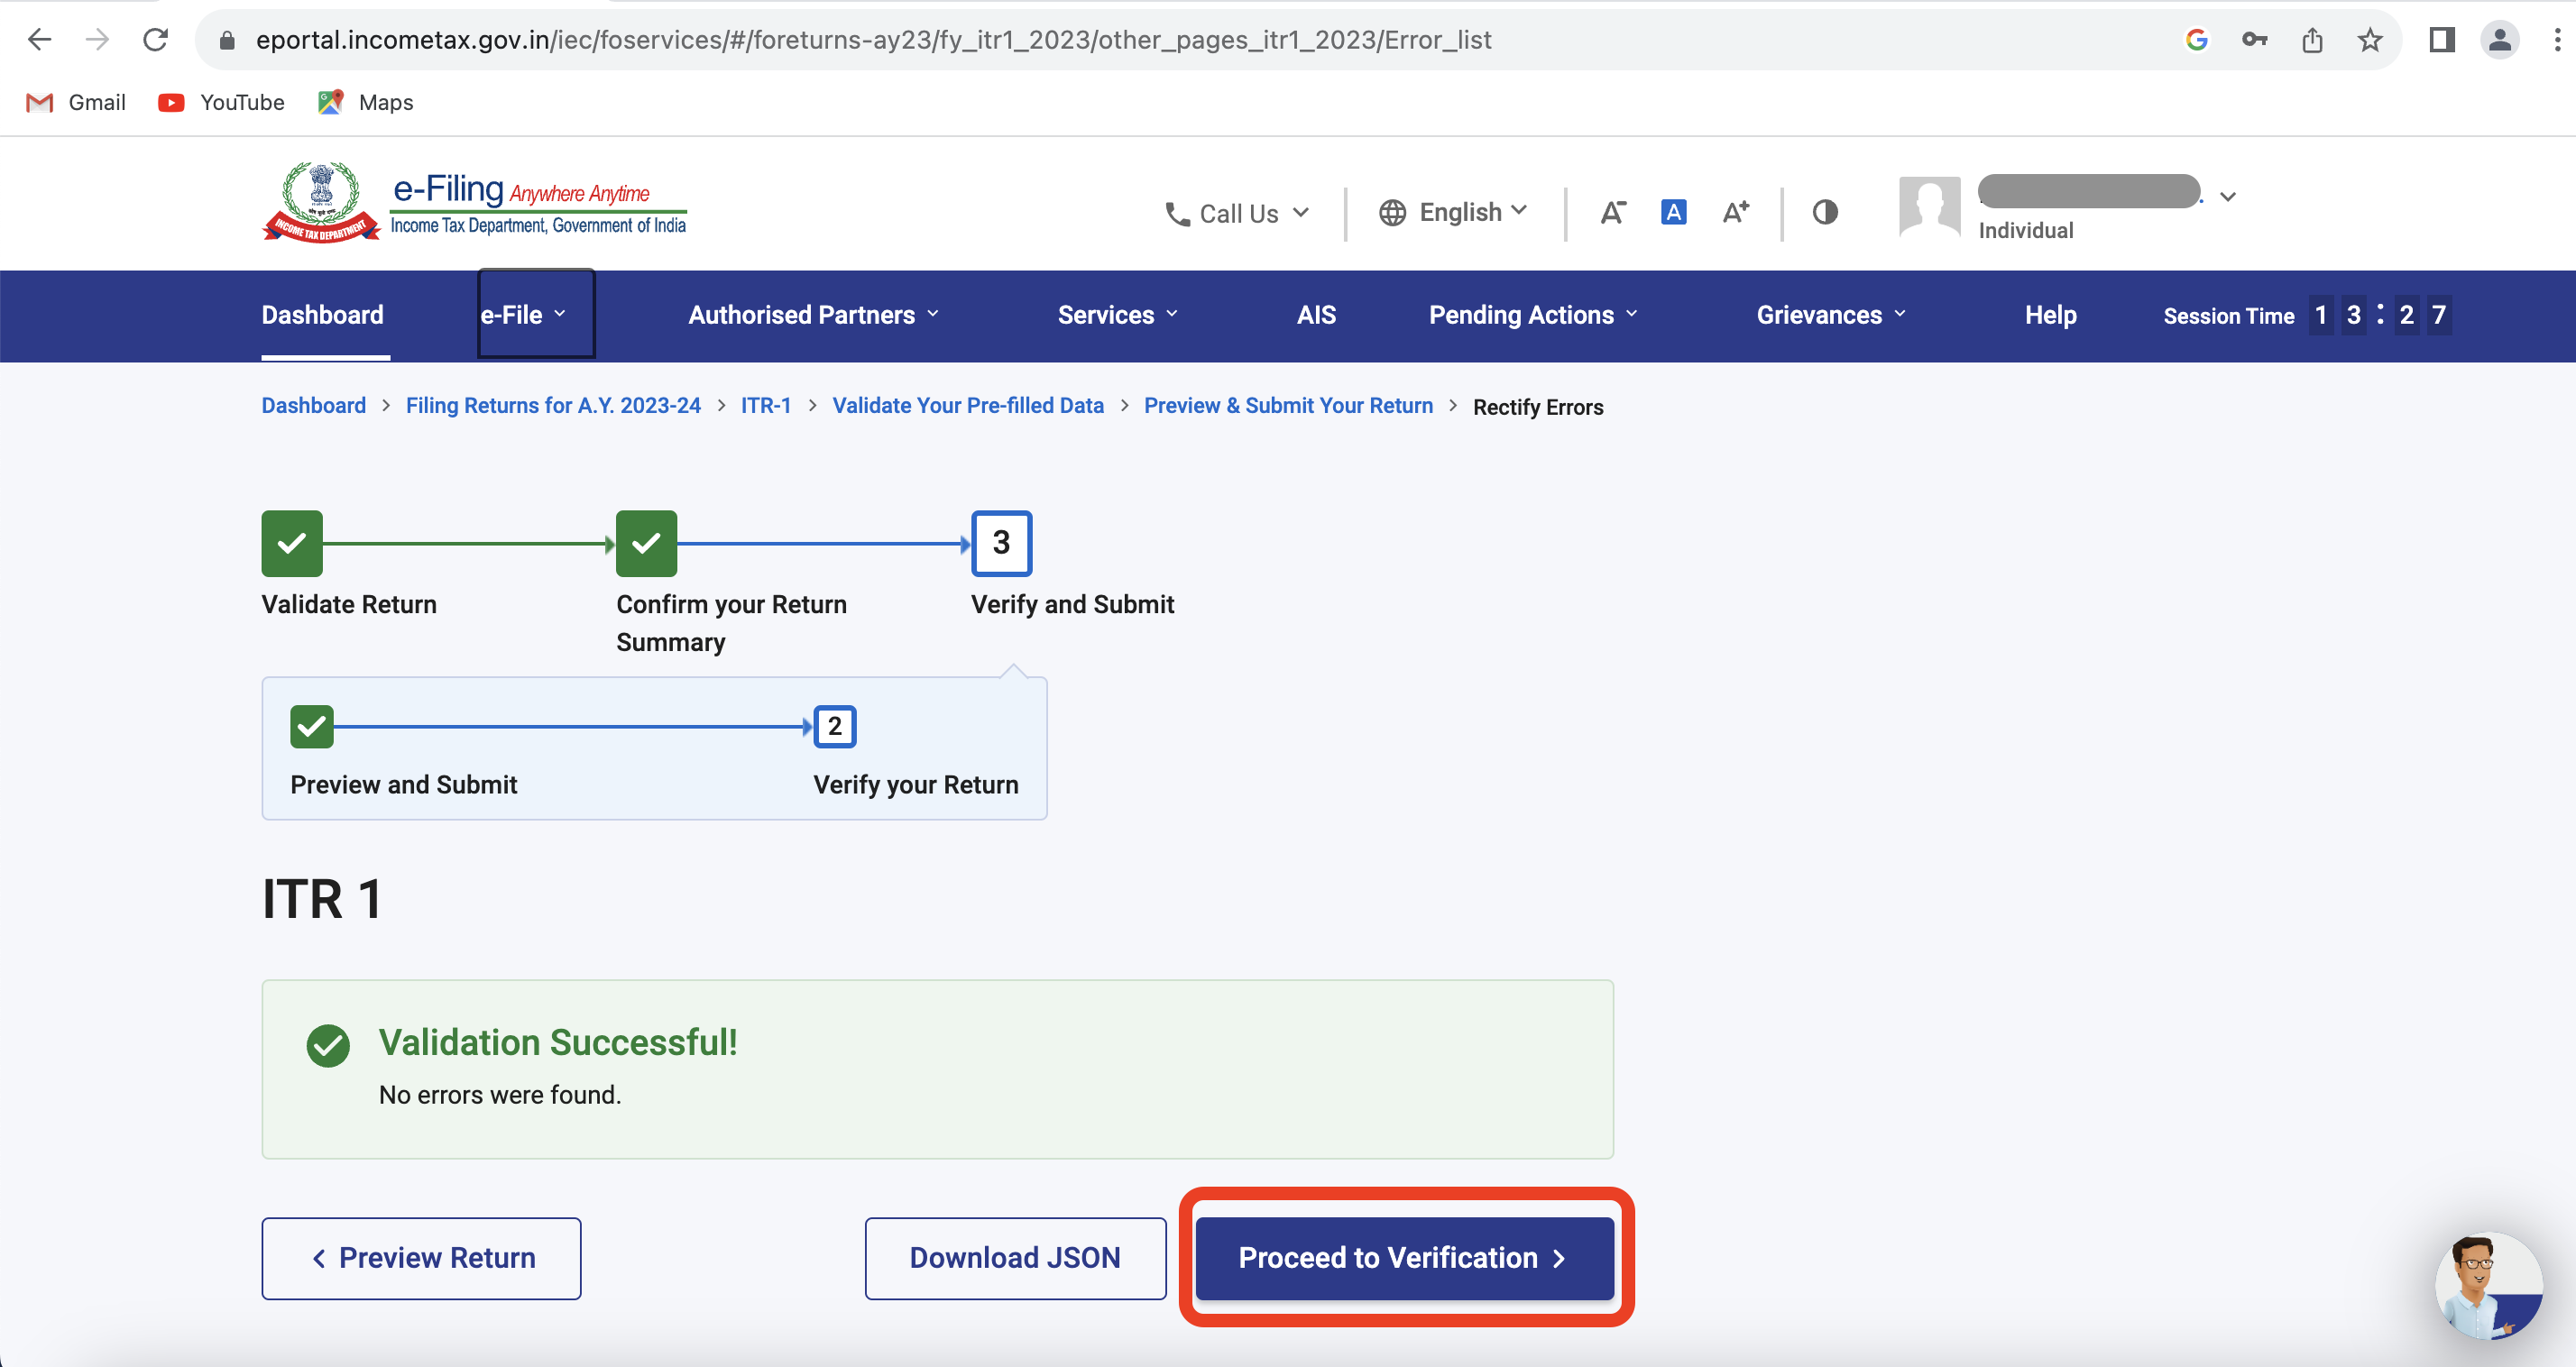
Step 17: If any errors are there in your ITR, it will show here. Then click on that error and rectify it. If no errors, then a message will be shown stating “Validation Successful”.
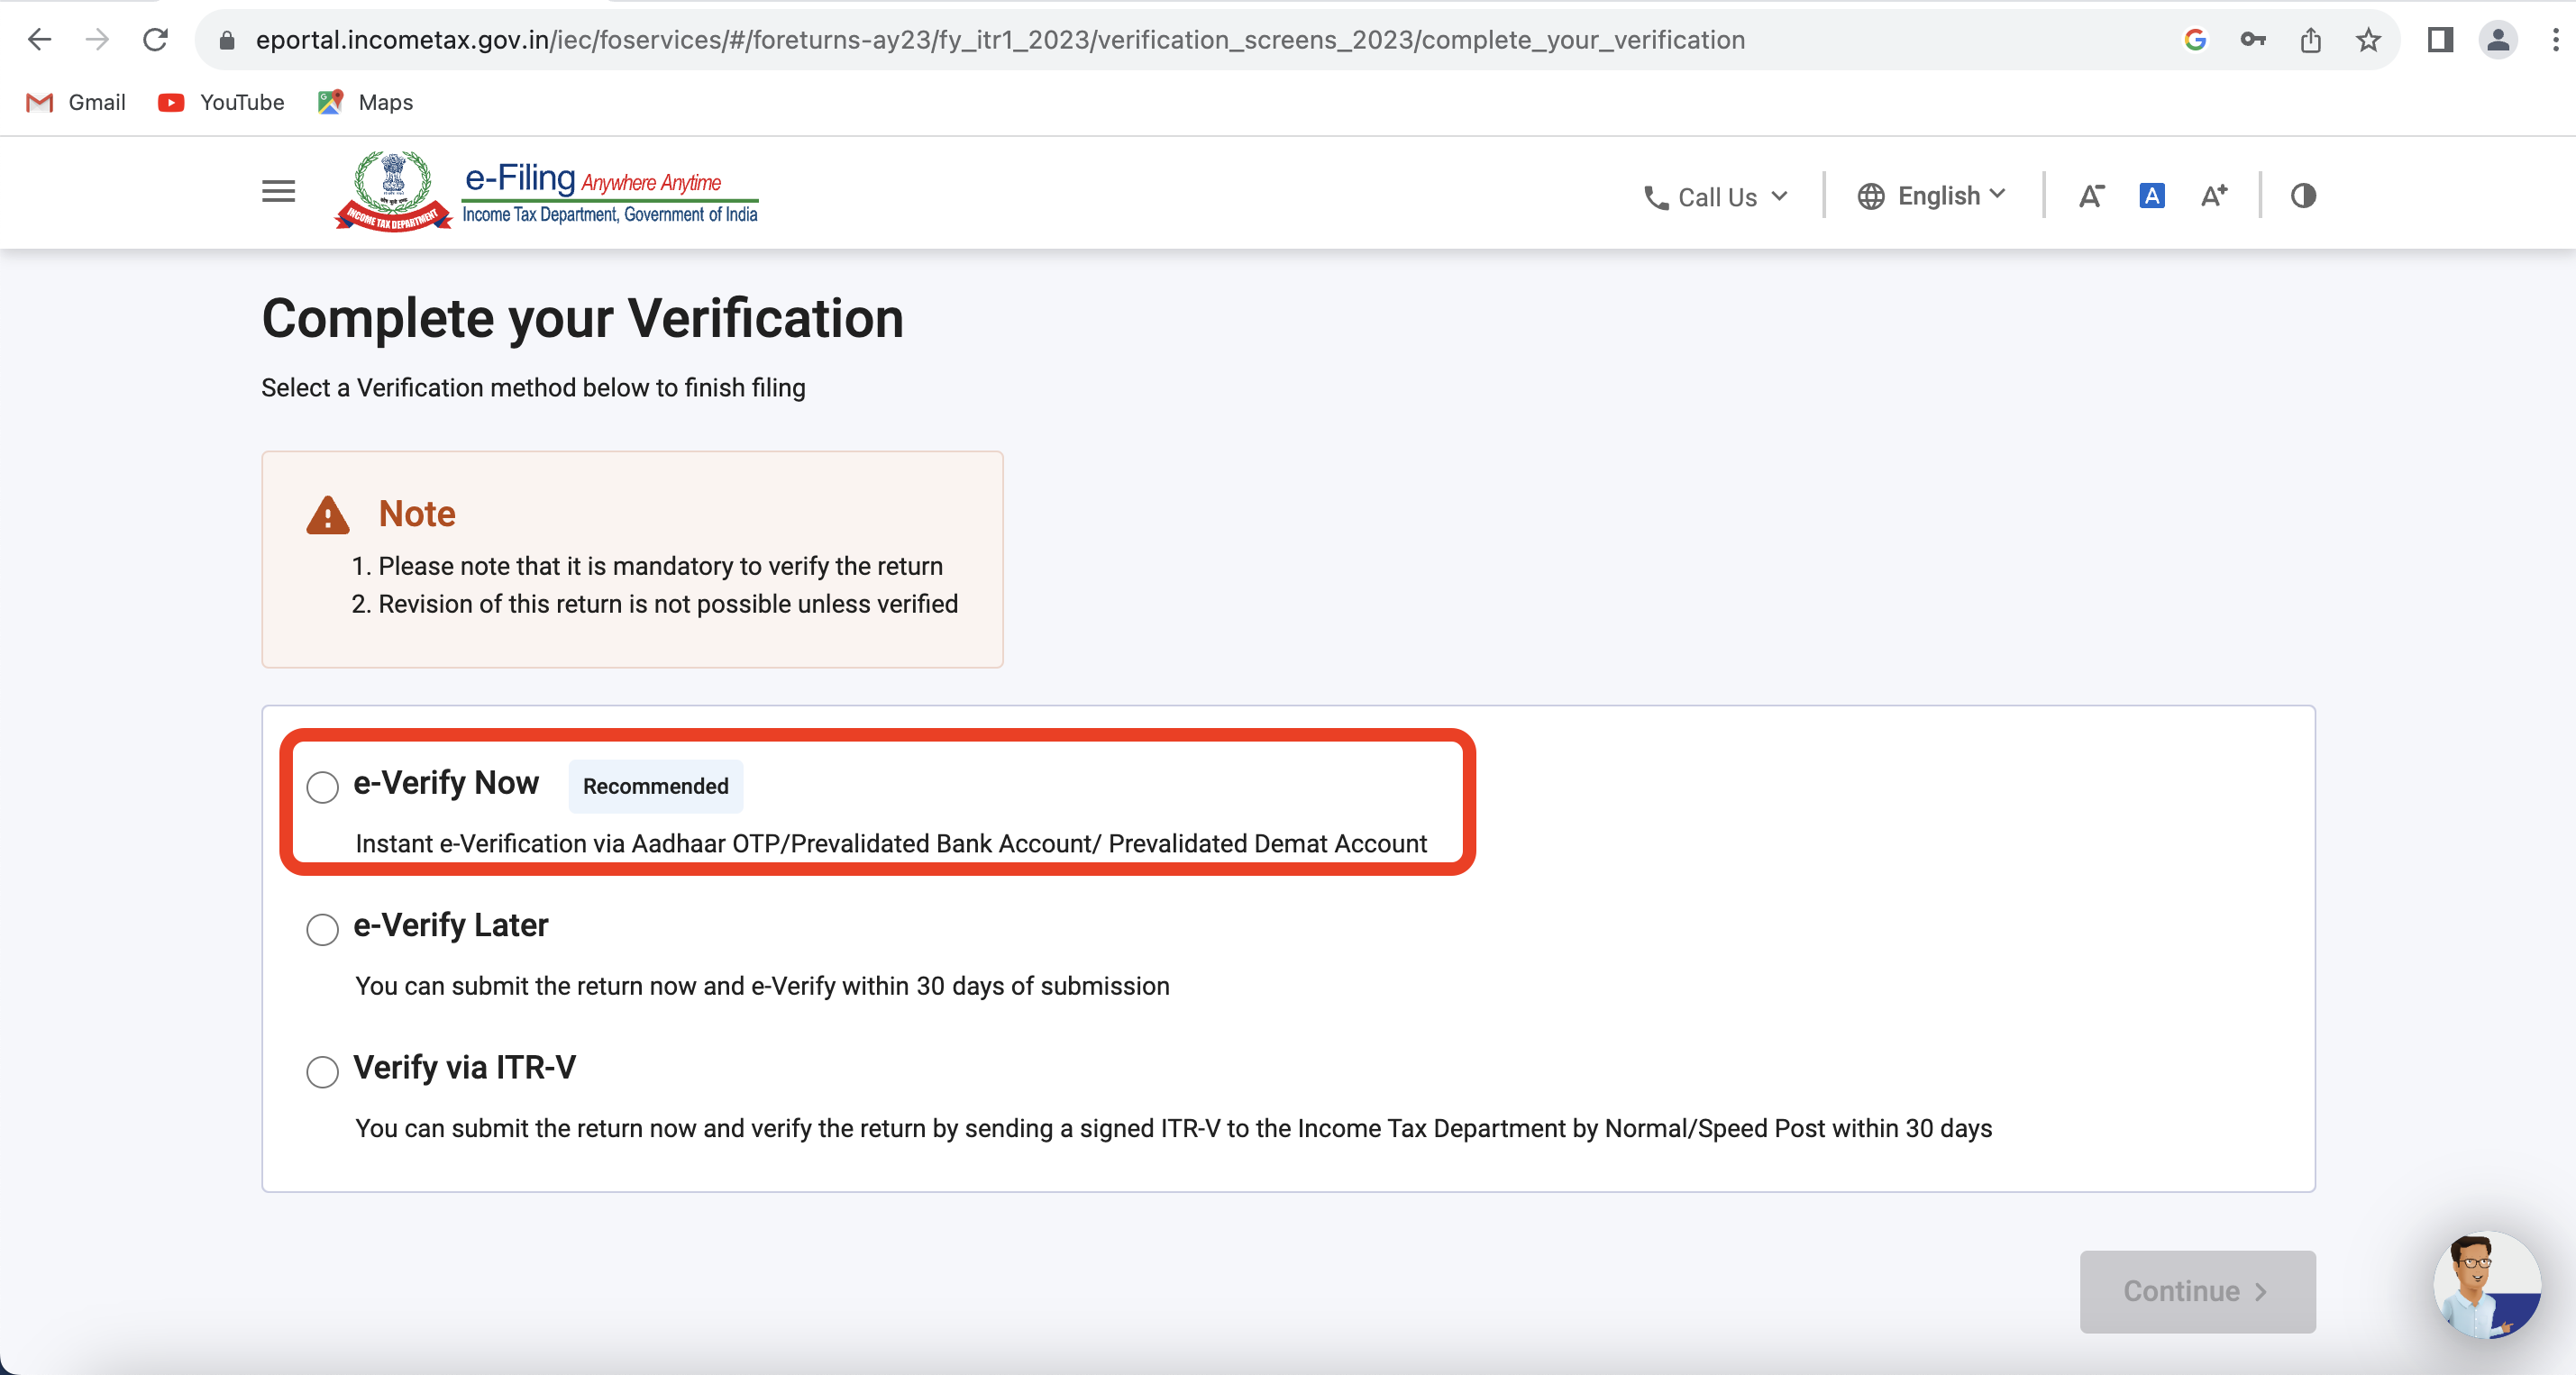
If validation is successful, then click on “Proceed to Verification”
Step 18: On this page, choose the mode through which you want to verify your ITR. But the recommended mode is through “Aadhaar OTP”.
Step 19: If you choose “Aadhaar OTP” verification, on the next page you need to select the first option and click on “Continue”

Step 20: Then you will get this pop-up. Click on “Generate Aadhaar OTP” and verify your return.

Soon after the verification, you will get a message and mail confirmation of ITR acknowledgement to your details registered with Income Tax Department.
Conclusion
The process of filing the Original return u/s 139(1) and the Belated return u/s 139(4) are exactly the same except for the section under which they are filed. So no need to worry about it. If you know the ITR filing process for the Original return, then you can easily file a Belated return as well.
In this way, you can easily file your Belated return through Online mode for any assessment year. Hope you enjoyed this article, if you have any questions pls let us know in the comments section.
Thank you for your time.